Imagine turning your home into a comfy, energy-saving space with new lights. Indoor LED lights can help you do this. These lights use 75% less energy than old bulbs. This lowers your electricity bills and helps the planet. They also last 25 times longer, saving you money in the long run.
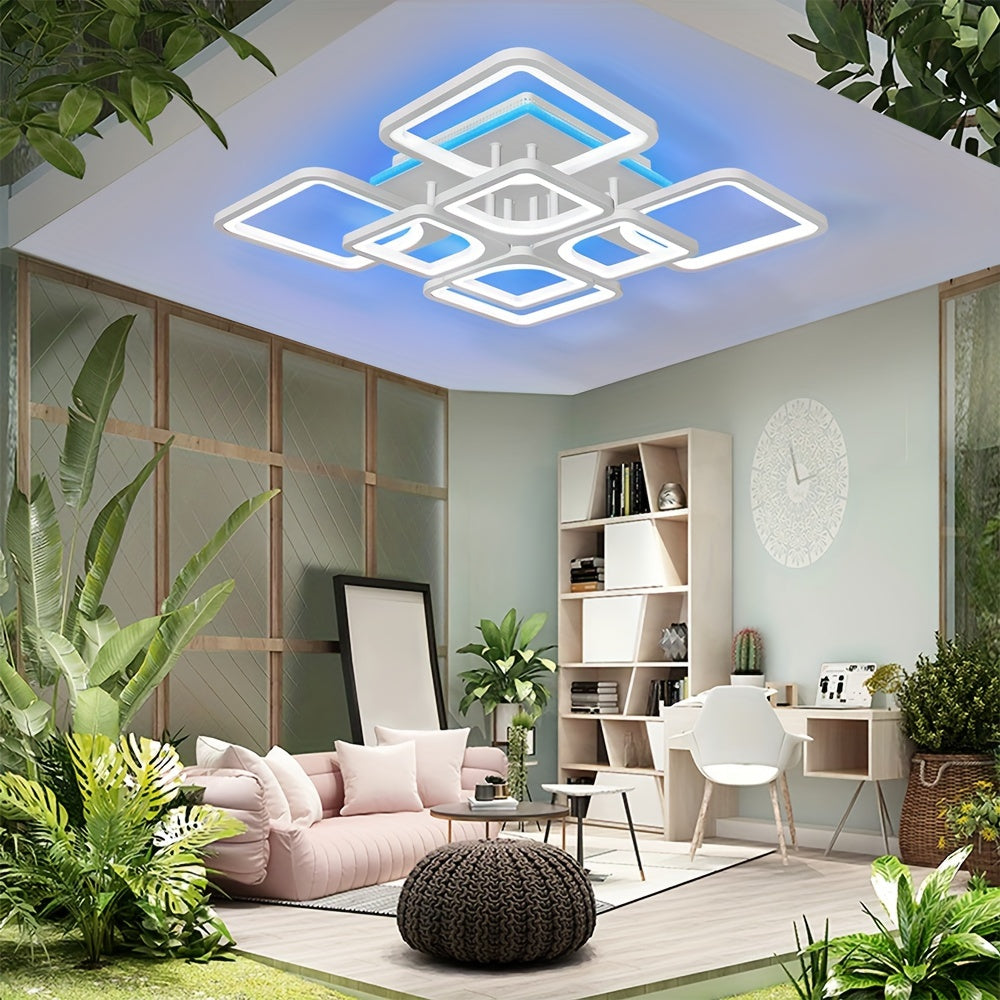
LEDs do more than just light up your home—they improve it. In the kitchen, they replace bright, harsh lights with soft, warm ones. This makes the room feel cozy. In living rooms, they show off decorations and add style. Bedrooms feel calm and peaceful with lights you can adjust. With these lights, you save energy and make your home look and feel better. Try them today and see how LEDs can change your space.
Key Takeaways
-
Indoor LED lights use 75% less energy than old bulbs. This saves money on bills and helps the environment.
-
Plan your lighting by finding areas that need more light. Focus on workspaces, relaxing spots, and decoration areas.
-
Pick LED lights based on the room's use. Bright, cool lights are great for kitchens. Warm, dim lights are better for bedrooms.
-
Make a budget for your lighting upgrade to save money. Split it into parts like fixtures, setup, and extras.
-
Clean your LED lights often to make them last longer. This also keeps them working well.
Planning Your Indoor LED Lights Upgrade
Making your home better with indoor LED lights starts with planning. A good plan helps you save money, use less energy, and make your home feel perfect. Let’s go step by step.
Find Areas That Need Better Lighting
First, look at where lighting can improve in your home. Is your kitchen too dark for cooking? Does your living room need a cozy glow for movies? Walk through each room and list spots that need upgrades. Don’t skip places like closets, hallways, or under cabinets. These areas often benefit from LED strip lights or recessed fixtures.
Think about how each space is used to decide what’s important:
-
Task spaces like kitchens or offices need bright, focused light.
-
Relaxing areas like bedrooms or living rooms need soft, adjustable light.
-
Accent spots like shelves or art displays look great with LED strip lights.
By finding these key areas, you’ll know where to start.
Pick the Best LED Lights for Each Room
Not all LED lights are the same. The type you pick depends on the room’s purpose. For example, kitchens need bright, cool lights, while bedrooms need warm, dimmable ones. Here’s a simple guide:
|
Specification |
What It Means |
|---|---|
|
Shows brightness; more lumens are good for tasks, fewer for relaxing. |
|
|
Color Temperature |
Warm (3000 K) feels cozy; cool (6000 K) helps focus. |
|
Efficacy (lm/W) |
Tells energy efficiency; higher numbers mean more light with less power. |
|
Rated Lifespan |
Shows how long the light lasts, so you replace it less often. |
For example, use LED strip lights for shelves or behind TVs in living rooms. In bathrooms, choose waterproof LED fixtures for safety. Picking the right LED for each room makes your upgrade worth it.
Learn About Color and Brightness
The color and brightness of lights change how a room feels. Warm yellow light (around 3000 K) makes rooms cozy, great for bedrooms or living rooms. Cool blue light (around 6000 K) is better for kitchens or workspaces where focus is needed.
Brightness is also important. Too much light feels harsh, and too little strains your eyes. A medium level, like 100 lux, works well for most rooms. Did you know lighting affects mood? Bright light therapy can help with Seasonal Affective Disorder (SAD) by acting like sunlight.
When planning, think about how you want each room to feel. Do you want a calm space or an energizing one? Adjusting the color and brightness of your LED lights helps create the perfect vibe for every room.
Set a Budget for Upgrading Your Lighting
Upgrading your home with indoor LED lights doesn’t have to break the bank. Setting a budget helps you stay on track and avoid overspending. It also ensures you get the best value for your money. Here’s how you can plan your budget wisely.
Start with a Cost Estimate
Before diving into the upgrade, it’s smart to get an idea of how much it might cost. LED lighting prices vary depending on the type of fixture, brightness, and features like dimming or smart controls. Tools like the HTA Technology Budget Calculator make this easy. You can input your lighting needs and get instant cost ranges for different fixtures.
Tip: Use budget calculators to compare options. This helps you decide whether to go for basic LED bulbs or invest in advanced systems like recessed lighting or smart LED strips.
Break Down Your Budget
Divide your budget into categories to make it more manageable. Here’s a simple way to organize it:
-
Fixtures: Allocate funds for LED bulbs, strip lights, or recessed lights.
-
Installation Costs: If you’re hiring a professional, factor in labor charges.
-
Extras: Include costs for smart controls, dimmers, or decorative lighting.
For example, if your total budget is $500, you might spend $300 on fixtures, $150 on installation, and $50 on extras. Breaking it down like this keeps things clear and prevents surprises.
Prioritize Your Spending
Not every room needs a full lighting makeover. Focus on areas where lighting makes the biggest impact. Kitchens and bathrooms often benefit from brighter, more efficient lights. Bedrooms and living rooms might only need a few upgrades for ambiance.
Note: Start with high-traffic areas or spaces where lighting affects functionality, like your kitchen or home office.
Plan for Long-Term Savings
LED lights might cost more upfront, but they save you money in the long run. They use less energy and last longer than traditional bulbs. Think of it as an investment. Spending a little more now means lower electricity bills and fewer replacements later.
Keep It Flexible
Your budget doesn’t have to be set in stone. Leave room for adjustments. Maybe you find a great deal on LED strip lights or decide to add smart controls later. Flexibility lets you adapt without feeling restricted.
By setting a clear budget, you’ll upgrade your lighting without stress. You’ll also enjoy the benefits of energy-efficient, stylish LED lights while staying within your financial limits.
Getting Ready to Install LED Lights
Before putting up LED lights, get everything ready first. Planning ahead saves time and makes the process easier. Follow these simple steps to prepare.
Measure and Decide Where Lights Go
Start by measuring and marking spots for your LED lights. This helps avoid mistakes and ensures even lighting. Use a layout tool to plan where fixtures should go. For example, brighten kitchen counters or add a warm glow to your living room.
Here are some tips to follow:
-
Read the instructions for each light carefully.
-
Spread out the electrical load to avoid overloading circuits.
-
Check the space to see how many lights you need.
-
Ask an expert if you’re unsure about electrical needs.
For accurate measurements, try these methods:
|
Method |
What It Does |
|---|---|
|
Measures how light spreads and calculates brightness. |
|
|
Color Testing |
Checks color temperature and quality for even lighting. |
|
Luminous Flux Tools |
Tests single LEDs and their brightness during production. |
Measuring and planning ahead ensures your lights will look great and work well.
Test Lights Before Installing
Always test your LED lights before installing them. This step ensures they work properly and meet your needs. Testing also prevents problems like flickering or uneven brightness later.
Here are common ways to test:
|
Test Type |
What It Checks |
|---|---|
|
Makes sure materials meet quality standards. |
|
|
Photometric Testing |
Measures brightness, color, and beam angle. |
|
Heat Management |
Tests how well lights handle heat to avoid overheating. |
|
Lifespan Testing |
Predicts how long the lights will last. |
Test the lights in the room where they’ll be used. This shows how they’ll look and feel. Don’t skip this—it’s worth the effort.
Gather Tools and Clean Surfaces
Having the right tools and clean surfaces makes installation easier. Wipe surfaces with alcohol to remove dirt and grease. This helps adhesive stick better and last longer.
Here’s a tool checklist:
-
Tape measure for accurate placement.
-
Screwdrivers and drills for mounting.
-
Wire strippers and connectors for electrical work.
Preparing well ensures your LED lights stay secure and work perfectly for years.
Tip: If using LED strips, make sure surfaces are dry before sticking them. This small step improves durability.
By following these steps, you’ll be ready to install your LED lights easily. Good preparation leads to great results!
How to Install LED Strip Lights in House and Other Fixtures
Upgrading your home’s lighting might seem hard, but it’s not. Whether you’re changing old bulbs to LEDs or adding strip lights, it’s simple. Follow these steps to install new lights and improve your home.
Replace Old Bulbs with LED Bulbs
Switching to LED bulbs is the easiest way to start. You don’t need special skills—just unscrew the old bulb and screw in the new one. Why switch? LED retrofit kits save energy, last longer, and shine brighter than old bulbs.
Here’s what you’ll get:
-
Energy Savings: Using LEDs can cut energy use by 66%. For example, The Franklin Institute saved $7,674 yearly by switching.
-
Lower Maintenance Costs: LEDs last longer, so you replace them less often. M&T Bank saved $22,691 yearly on maintenance.
-
Environmental Benefits: LEDs lower greenhouse gas emissions. Southeastern Pennsylvania Transit Authority reduced emissions by 7,218,366 lbs yearly.
Use LED retrofit kits to upgrade fixtures without replacing them. These kits work for ceiling lights, lamps, and outdoor fixtures.
Tip: Pick bulbs with a high CRI (Color Rendering Index). A CRI above 90 makes colors look natural and vibrant.
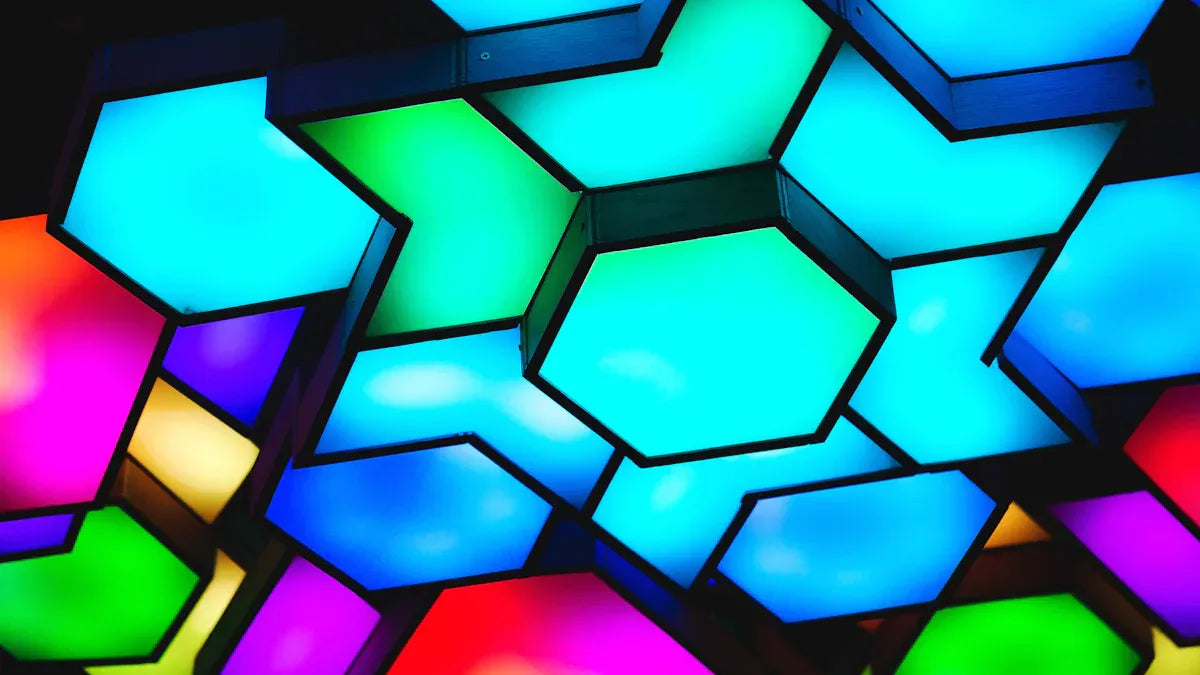
Add LED Strip Lights for Flexible Lighting
LED strip lights are great for modern lighting. They’re bendable, easy to set up, and stylish. Use them to light shelves, kitchen counters, or behind TVs for a cozy glow.
Why Choose LED Strip Lights?
Studies show strip lights improve lighting, color, and energy use. Here’s a quick look:
|
Metric |
Result |
|---|---|
|
Illuminance levels |
|
|
Color rendering index |
Improved color quality |
|
Energy consumption reductions |
Lower power use |
Steps to Install LED Strip Lights in House
Follow these steps for the best results:
-
Clean the Surface: Wipe the area where strips will stick. A clean, flat surface works best.
-
Pick the Right Power Supply: Match the strip’s voltage and wattage to the power supply. This avoids flickering.
-
Attach the Strips: Use tape or clips to secure the strips. Press firmly to keep them in place.
-
Add Dimmers and Controllers: Use dimmers to adjust brightness. Smart controllers let you change colors easily.
-
Maintain Regularly: Clean strips monthly to keep them bright and dust-free.
Note: Use flexible strips for corners or curved areas. They fit better and look seamless.
By following these steps, you’ll have stylish and useful lighting.
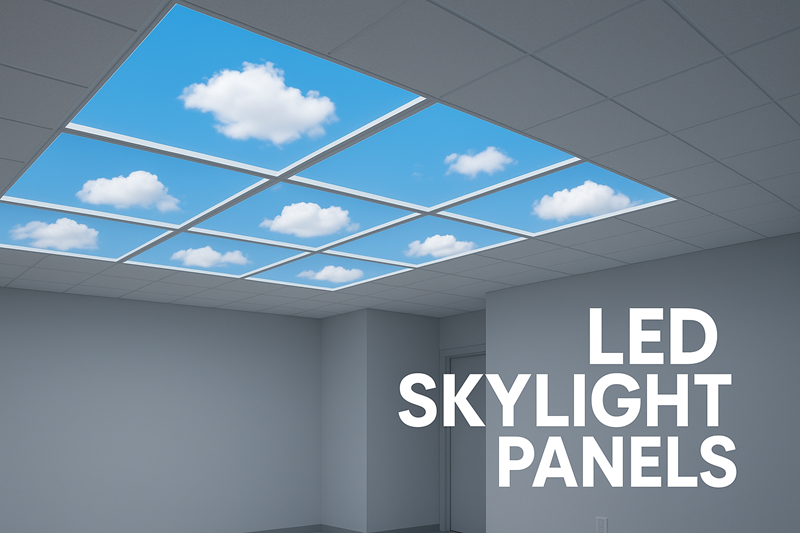
Install Recessed or Mounted LED Lights
Recessed and mounted LED lights give a sleek, modern look. They’re perfect for kitchens, living rooms, or bathrooms. Which one should you pick? Let’s compare:
|
Benefit |
Recessed LED Installations |
Mounted LED Installations |
|---|---|---|
|
Energy Savings |
48%-69% savings over fluorescent lights |
N/A |
|
Customization |
Teachers used preset buttons and sliders |
N/A |
|
Attention Grabbing |
Better at holding students’ focus |
N/A |
|
Dimmability |
Highly valued by teachers |
N/A |
|
Improved Working Environment |
Positive feedback from users |
N/A |
How to Install Recessed LED Lights
-
Cut the Ceiling: Mark the spot and cut a hole for the light.
-
Connect the Wires: Attach wires to the light as per instructions.
-
Insert the Fixture: Push the light into the hole until it’s flush with the ceiling.
How to Install Mounted LED Lights
-
Mark the Spot: Use a pencil to mark where the light will go.
-
Drill Holes: Drill holes for screws and attach the bracket.
-
Attach the Light: Connect wires and secure the light to the bracket.
Recessed lights are great for a clean look, while mounted lights add decoration.
Pro Tip: Use LED retrofit kits for recessed lights to save time and ensure success.
By changing bulbs, adding strip lights, and installing recessed or mounted fixtures, your home will be brighter, energy-saving, and stylish.
Connect and Test the Lighting System
After installing your LED lights, it’s time to connect and test them. This step ensures everything works properly and lets you make changes if needed. Follow these easy steps to get started.
1. Connect the Power Supply
First, link your LED lights to the power source. For strip lights, match the voltage and wattage to the power supply. This avoids flickering or overheating. For recessed or mounted lights, follow the wiring instructions from the manufacturer.
Tip: Use special connectors or adapters made for your LED lights. These make the setup safer and simpler.
2. Test Each Light One by One
Before turning on all the lights, test them one at a time. This helps you find any problems early. Plug in each light and check its brightness, color, and if it flickers. If something seems wrong, check the connections or read the manual.
3. Use Standard Testing Methods
Experts suggest using standard tests to check your lighting system. These tests measure brightness, color, and energy use. Here’s a quick guide:
|
Standard |
What It Checks |
|---|---|
|
IES LM-84-14 |
Predicts how long LED lamps will last. |
|
IES TM-28-14 |
Estimates the lifespan of LED lamps based on rules. |
|
IES LM-79-2008 |
Measures brightness, power use, color temperature, and color accuracy. |
|
Section 5.1 |
Sets conditions for testing like room temperature and power settings. |
|
Section 4.1 |
Gives tips for handling and storing LED lamps safely. |
Following these methods ensures your lights are safe and work well.
4. Adjust and Fine-Tune
Once all lights are tested, adjust them to fit the room. Make sure the brightness matches the room’s purpose. For example, kitchens need brighter lights, while bedrooms need softer ones. If your lights are dimmable or smart, try different settings to find the best look.
Note: If some areas look too dark or uneven, move the lights or change their angles for better lighting.
5. Do a Final Check
Finally, turn on all the lights and walk through your home. Look for issues like flickering, dim spots, or colors that don’t match. Fix these problems right away to avoid trouble later.
Testing your LED lights may seem like extra work, but it’s important. A good check makes sure your lights are perfect and your home looks amazing.
Post-Installation Tips for Indoor LED Lights
Adjust Lighting to Enhance Ambiance
After installing your LED lights, tweak them for the best effect. Changing brightness and placement can change how your home feels. For example, dim lights in the living room make it cozy. Bright lights in the kitchen help you focus while cooking.
Did you know light changes how a room feels? Soft, warm lights make bedrooms relaxing. Cool, bright lights help you work better in offices. Matching lights to each room’s purpose can even boost your mood. Studies show natural light setups improve creativity and comfort. Light therapy can help people sensitive to lighting. Try different settings to see what works best for you.
Maintain and Clean LED Fixtures
Clean and care for your LED lights to keep them working well. Dust can make lights dim over time, so clean them often. Use a soft cloth and mild cleaner twice a year. If your area is dusty, clean them more often.
Check your lights regularly for problems. Look for flickering, dim spots, or broken parts. Fixing issues quickly keeps your lights working smoothly. Don’t turn lights on and off too much—it wears them out faster. This simple tip helps your LEDs last longer and saves money.
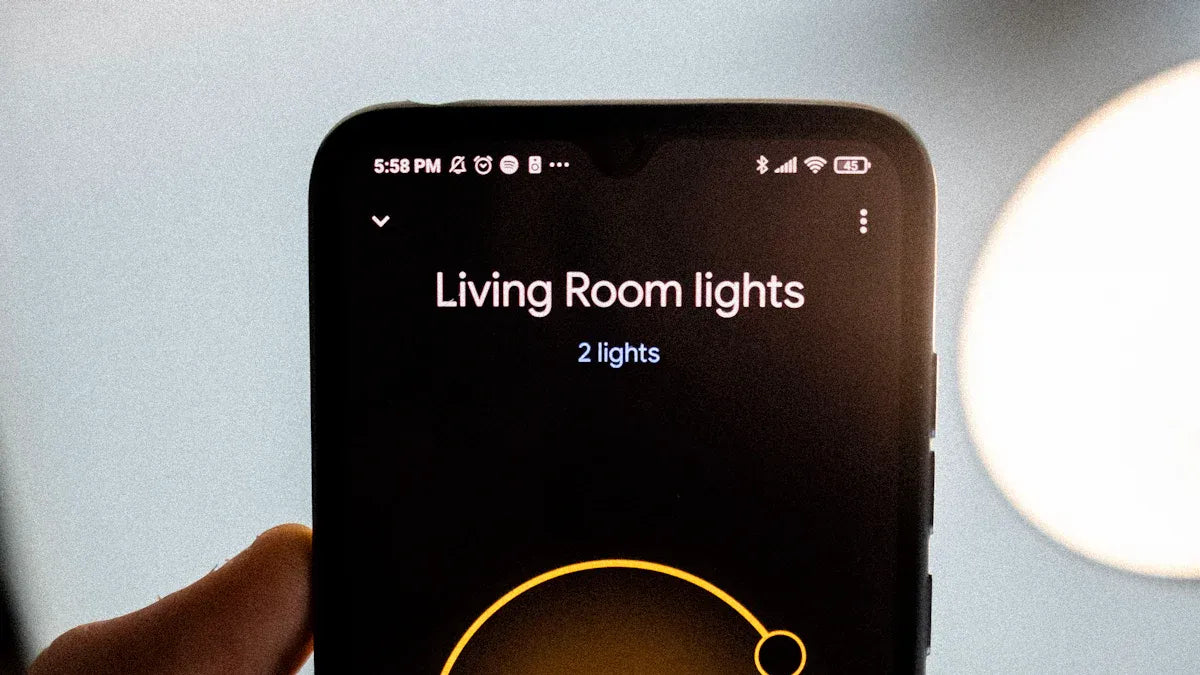
Use Smart Controls to Maximize Energy Efficiency
Smart controls make LED lighting even better. Dimmers, timers, and motion sensors save energy and fit your needs. Motion sensors turn lights on only when someone enters a room. Timers shut off lights at night, so you don’t forget.
Smart systems let you control lights from your phone. Imagine adjusting lights while away from home. Studies show smart controls with LEDs save up to 20% more energy. Using daylight sensors and motion detectors saves even more. Smart lighting isn’t just useful—it makes your home greener and more efficient.
Upgrading your home with indoor LED lights is easy and effective. With good planning, picking the right lights, and proper setup, your home can be brighter and save energy. LEDs use less power and last longer than old bulbs. This means you save money on electricity and replacements. They’re also eco-friendly, helping reduce your carbon footprint.
Here’s why switching to LEDs is a smart choice:
|
Benefit |
Details |
|---|---|
|
Energy Savings |
LEDs use 90% less energy, cutting electricity costs a lot. |
|
Long Lifespan |
LEDs last 15 times longer, so you replace them less often. |
|
Eco-Friendly |
Using LEDs widely could save $30 billion and cut power use equal to 44 power plants by 2027. |
By 2030, LEDs will make up 87% of the lighting market. Now is the best time to switch. Save money and create a stylish, cozy home. Start today and see how LEDs can light up your life!
FAQ
1. Can I install LED lights myself, or do I need an electrician?
You can install most LED lights yourself, especially bulbs and strip lights. For complex setups like recessed lighting or wiring, hiring an electrician ensures safety and proper installation. Always follow the manufacturer’s instructions.
2. How do I choose the right LED color temperature?
Think about the room’s purpose. Warm white (3000K) creates a cozy vibe for bedrooms and living rooms. Cool white (5000K-6000K) works well in kitchens or offices where focus is key. Check the packaging for guidance.
3. Are LED lights safe for the environment?
Yes! LEDs use less energy and last longer, reducing waste and carbon emissions. They don’t contain harmful chemicals like mercury, making them eco-friendly and safe for disposal.
4. Do LED lights work with dimmer switches?
Not all LEDs are dimmable. Look for bulbs labeled “dimmable” and ensure your dimmer switch is compatible. Using the wrong combination can cause flickering or damage.
5. How long do LED lights last?
LEDs can last up to 25,000 hours or more, depending on usage and quality. That’s about 10-15 years of regular use. They outlast traditional bulbs by a wide margin, saving you money over time.
Tip: Always check the product’s rated lifespan before buying to ensure it meets your needs.