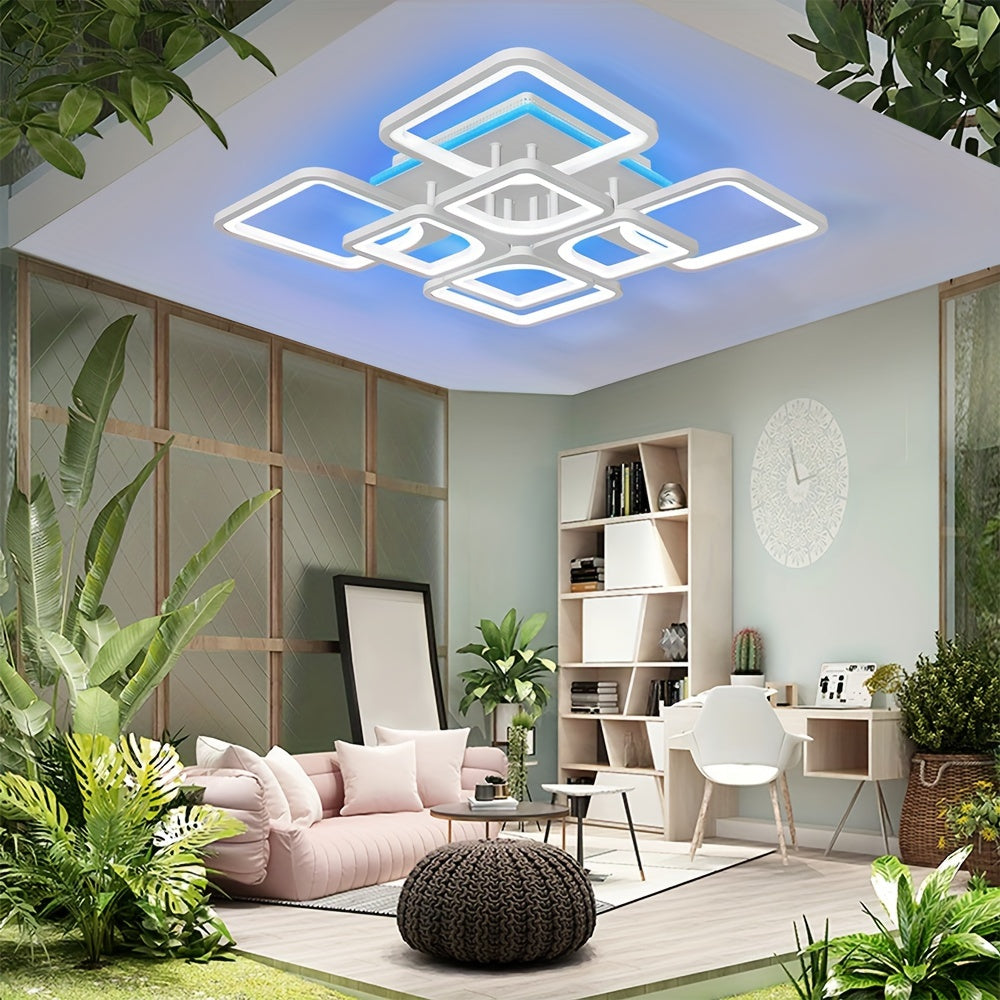
Switching to LED ceiling lights is a smart move. These lights are up to 80% more energy-efficient than traditional ones, saving money and reducing energy use. Plus, they last up to 25,000 hours, so you won’t need frequent replacements. With their sleek, modern designs and easy installation, they’re perfect for any space. The installation process is straightforward, making it a great DIY installation project. Just follow a clear guide, and you’ll enjoy the benefits of LED lighting in no time.
Key Takeaways
-
Using LED ceiling lights helps save energy and money. They use up to 80% less power than old lights.
-
Always switch off the power before doing electrical work. Check with a voltage tester to stay safe.
-
Follow simple steps to install them correctly. Good planning and safety tools make it easy and safe.
Tools and Materials for Installing LED Ceiling Lights
Tools You’ll Need
Before starting, collect the tools to make work easier. Here’s what you’ll need:
-
Drill and hole saw: Use these to cut neat ceiling holes. They’re important for recessed or flat LED lights.
-
Screwdrivers: Both Phillips and flat-head types are needed for screws.
-
Wire stripper: This tool helps you prepare wires for connections.
-
Voltage tester: Check wires for electricity to stay safe while working.
-
Step ladder: A strong ladder helps you reach the ceiling easily.
-
Protective gloves and eyewear: These protect your hands and eyes during work.
Pro Tip: Always turn off the power before starting. Use a voltage tester to ensure no electricity is flowing.
Materials You’ll Need for LED Lights
Having the right materials is just as important as tools. Here’s a list to help:
-
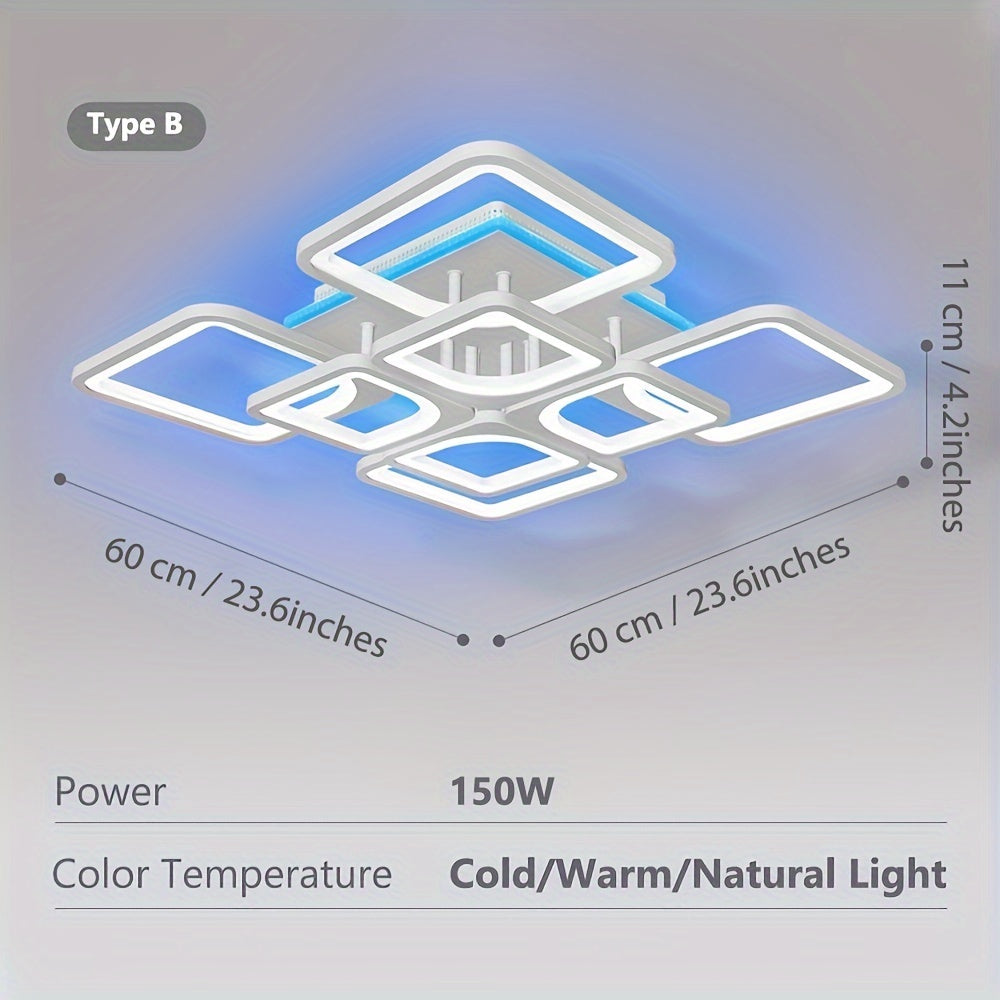
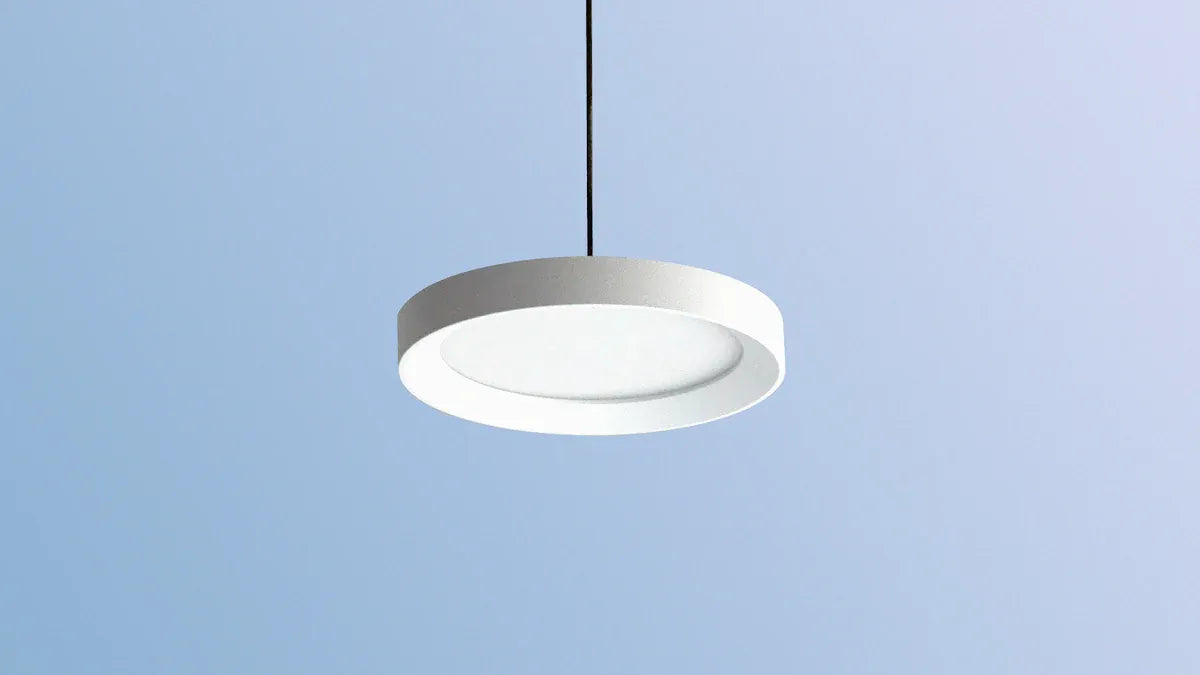
A new LED ceiling light fixture (pick one that fits your space, like slim LED lights for a modern look).
-
Wire nuts to secure electrical wires.
-
Drill bits if you need to make new holes.
-
Replacement lamps, such as U-Bend or linear lamps, depending on your fixture.
For certain projects, like replacing fluorescent lights, you may need special lamps. For example:
|
Lamp Type |
What It Does |
What It Needs |
|---|---|---|
|
Replaces U-bend T8 or T12 fluorescent lamps |
Needs a G13 base and fits T8 or T12 |
|
|
Linear Replacement Lamps (UL A) |
Easy replacements for fluorescent lamps |
Works with current ballasts |
|
Internal-driver/Line Voltage (B) |
Needs rewiring to skip the ballast |
Runs without a ballast |
With these tools and materials, you’ll be ready to install your LED ceiling lights confidently.
Safety Tips for Installing LED Ceiling Lights
Working with electricity can be dangerous, so safety is key. Installing LED ceiling lights is simple, but being careful helps avoid accidents. Follow these safety tips to do the job right.
Turn Off the Power
Before touching wires, turn off the power. This step is very important to avoid shocks. Here’s how to do it:
-
Switch off the breaker for the circuit you’ll work on.
-
If unsure which breaker, turn off power at the main panel.
-
Use a voltage tester to confirm no electricity is in the wires.
Important: Skipping this step can cause serious injuries. Always check the power is off before starting.
Check Wiring Compatibility
Not all wiring works with LED lights. Check your wiring first to avoid problems later. Here are common wiring issues and fixes:
|
Problem |
Fix |
|---|---|
|
Old Wiring Doesn’t Match New LED Fixtures |
Use modular wiring that fits different fixtures. |
|
No Pre-installation Check |
Do an electrical check to plan any needed changes. |
|
Limited Fixture Options |
Pick LED fixtures that work with many wiring types. |
If unsure about wiring, ask an electrician or read the fixture manual. Good wiring makes your LED lights safe and efficient.
Wear Safety Gear
Wearing safety gear is as important as following steps. Even though LED lights use less power, you still need protection. Here’s what to wear:
-
For low-voltage (<240 V): Wear flame-resistant clothes, rubber gloves, and safety glasses.
-
For medium-voltage (240 V to 600 V): Add a hood with ear protection.
-
For high-voltage: Wear a full flash suit and insulated tools.
Pro Tip: Always use insulated tools to avoid touching live wires.
By following these tips, you’ll stay safe and install your LED lights successfully. These steps may take extra time, but they’re worth it for your safety.
Step-by-Step Guide to Install LED Ceiling Lights
Removing the Old Fixture
Before you can install LED ceiling lights, you’ll need to remove the old fixture safely. Follow these steps to get started:
-
Turn off the power: Head to your circuit breaker and switch off the power to the room where you’ll work. Use a voltage tester to confirm there’s no electricity flowing.
-
Identify the fixture type: Check if the cover is magnetic, snap-on, or twist-and-lock. This will help you remove it without damage.
-
Wear protective gear: Put on safety glasses to shield your eyes from dust or debris.
-
Remove the cover:
-
For magnetic covers, pull down gently while pushing to the side.
-
For snap-on covers, use a plastic tool to release hidden clips.
-
For twist-and-lock covers, rotate counterclockwise to unlock.
-
-
Disconnect the wires: Unscrew the fixture and carefully disconnect the wires. Take note of how the wires are connected, as this will help when wiring the new LED light.
Tip: If the cover is stuck, apply a small amount of lubrication or tap it gently to loosen it.
Preparing the Ceiling for LED Lights
Once the old fixture is removed, it’s time to prep the ceiling for your new LED ceiling light. Proper preparation ensures a smooth installation process.
-
Plan the placement: Think about the room’s layout. For example:
-
In bedrooms, position the light to avoid shadows over the bed.
-
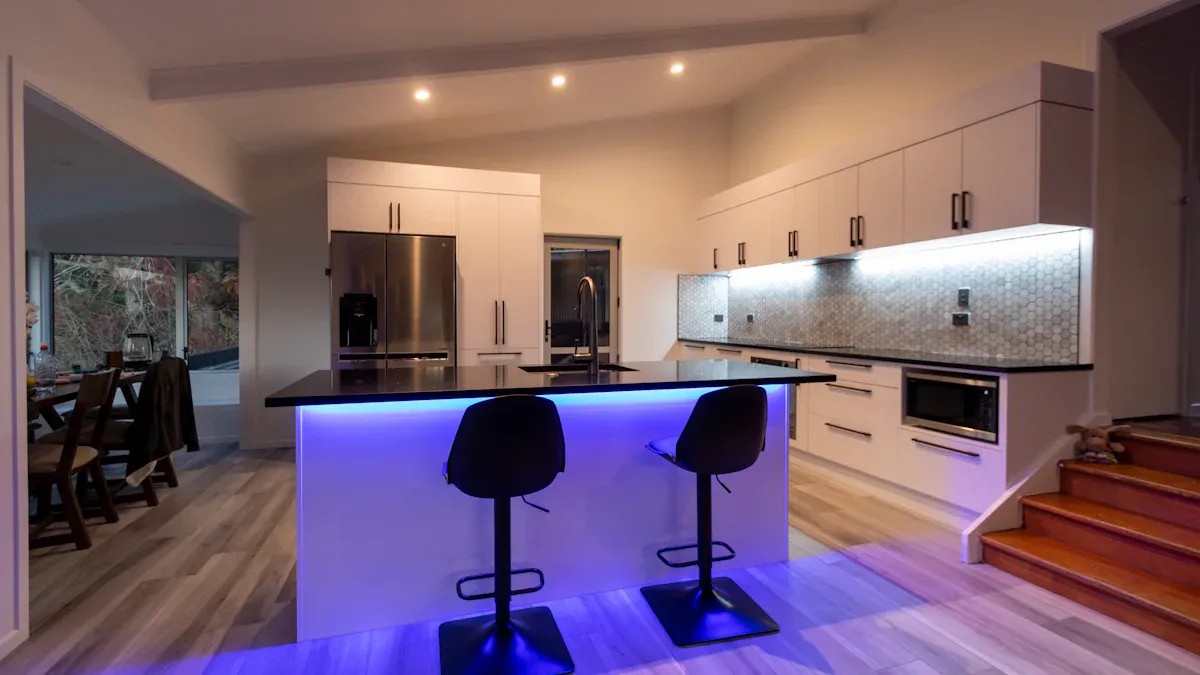
In kitchens, focus on areas like the island or dining table.
-
In bathrooms, prioritize task lighting for mirrors.
-
In living rooms, consider accent lighting for artwork or furniture.
-
-
Check the ceiling: Inspect for any damage or uneven surfaces. Repair cracks or holes to create a stable base for the new fixture.
-
Gather your tools: Have a screwdriver set, wire strippers, voltage tester, ladder, and protective gear ready.
Pro Tip: If you’re installing recessed LED strip lights on the ceiling, use a hole saw to cut precise openings for a clean look.
Wiring the LED Ceiling Light
Wiring might sound tricky, but it’s straightforward if you follow the right steps. Here’s how to connect LED strip lights or ceiling fixtures safely:
-
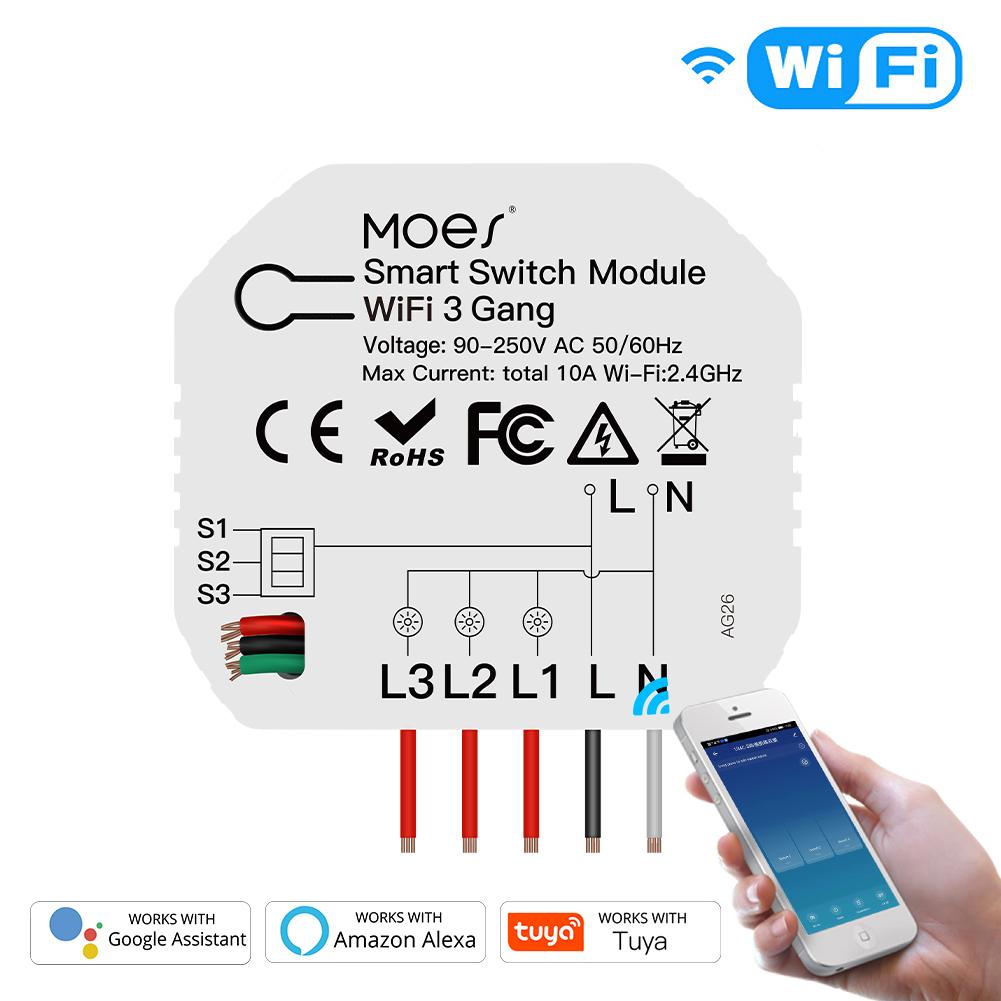
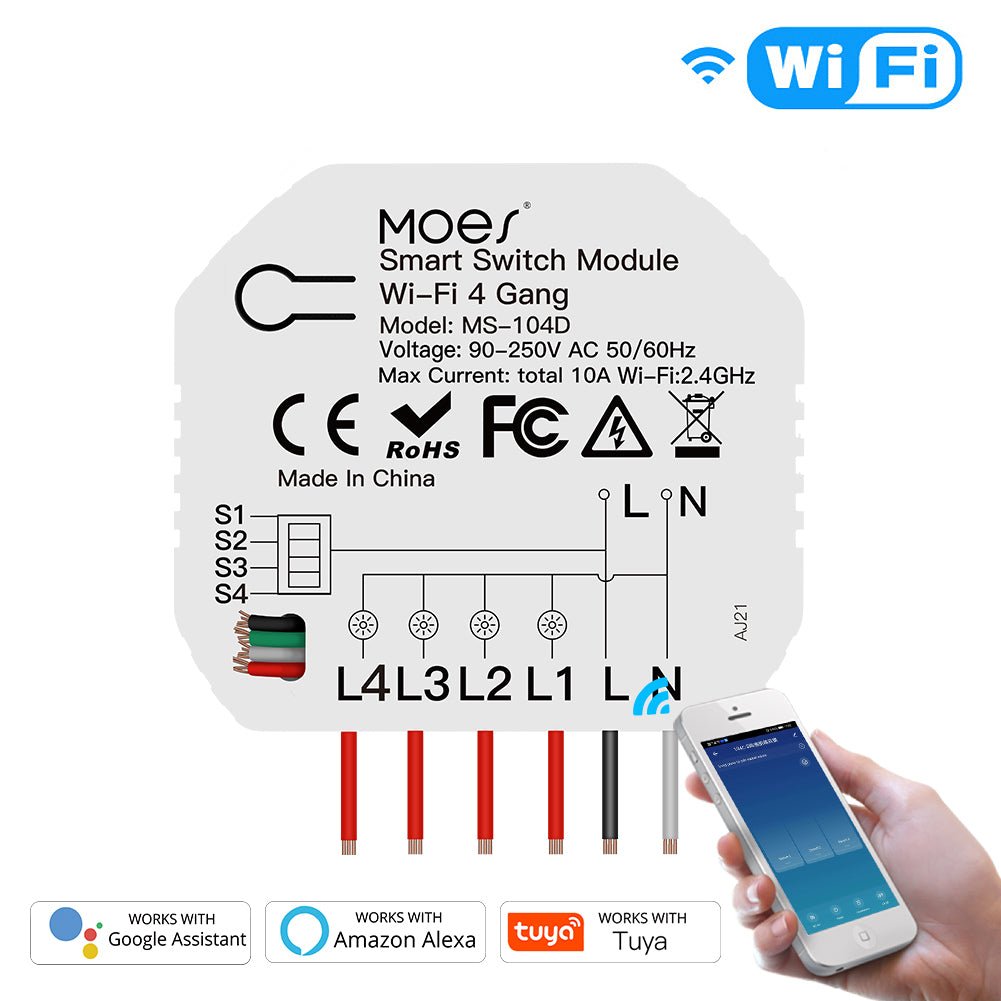
Match the wires: Connect the black (hot) wire from the ceiling to the black wire on the LED fixture. Do the same for the white (neutral) wires.
-
Secure with wire nuts: Twist the wires together and cap them with wire nuts to prevent loose connections.
-
Ground the fixture: Attach the green or bare copper wire to the grounding screw in the electrical box.
-
Follow local codes: Ensure your wiring complies with local electrical codes. If you’re unsure, consult an electrician.
Note: Always double-check your connections before moving to the next step.
Mounting the LED Fixture
Now it’s time to mount your new LED ceiling light. This step requires precision to ensure the fixture is secure and level.
-
Check the electrical box: Make sure it can support the weight of the new fixture. Replace it if necessary.
-
Attach the mounting bracket: Use screws to secure the bracket to the ceiling.
-
Connect the fixture: Align the fixture with the bracket and attach it using the provided screws.
-
Tuck in the wires: Push the wires neatly into the junction box to avoid clutter.
-
Adjust the fixture: Ensure it’s level and aligned before tightening the screws completely.
Tip: Use integrated keyhole slots for easier mounting and adjust the canopy plate for proper positioning.
Testing and Finalizing the Installation
The final step is to test your new LED ceiling light and make sure everything works perfectly.
-
Turn the power back on: Go to the circuit breaker and restore power to the room.
-
Test the light: Flip the switch to see if the light turns on. If it doesn’t, double-check your wiring connections.
-
Inspect the fixture: Ensure it’s securely mounted and aligned.
-
Perform standard tests: Use the following benchmarks to validate the installation:
|
Description |
|
|---|---|
|
ANSI C82.16-15 |
Measures LED driver input and output parameters. |
|
EN50564:2011 |
Tests low-power consumption for LED systems. |
|
EN61000-3-2 |
Limits harmonic components in input current. |
|
IEC61000-3-12 |
Controls harmonic currents in lighting systems. |
|
IEC61000-4-7 |
Measures spectral components in power supply systems. |
Pro Tip: If you encounter issues, consult the manufacturer’s manual or seek professional help.
Congratulations! You’ve successfully installed your LED ceiling light. Now, enjoy the energy efficiency and modern design it brings to your space.
Tips for Installing LED Disk Lights and Recessed Lighting
Fixing Wiring Problems
Wiring issues can make installing LED disk lights hard. But don’t worry, you can fix them. Start by checking your electrical setup carefully. This helps you know what changes are needed. If unsure, ask an electrician for advice.
Here’s a simple guide to solve wiring problems:
|
Fixing Method |
What It Does |
|---|---|
|
Learn about your current and future power needs. |
|
|
Ask an Electrician |
Get help with changes and handling electrical loads. |
|
Analyze Circuit Load |
See if circuits can handle new lights or need upgrades. |
|
Update Electrical Plans |
Use updated diagrams to guide your work. |
|
Use Surge Protectors |
Protect against sudden power surges. |
|
Do Regular Checks |
Watch the electrical load during the installation process. |
Follow these steps to avoid wiring problems and make installation easier.
Placing Recessed Lighting Correctly
Where you put recessed lights matters a lot. Bad placement can cause shadows or uneven light. Use these tips to get it right:
-
Keep lights at least 2 feet from walls to avoid shadows.
-
Place lights over work areas like kitchen counters or islands.
-
Use a zigzag pattern in living rooms for a nice look.
For exact placement, follow these steps:
-
Divide the ceiling height by two for spacing. For example, an 8-foot ceiling needs lights 4 feet apart.
-
Check the manufacturer’s guide for fixture spacing.
If your ceiling is 8 feet high, space lights 4 feet apart. Use this formula for accuracy:Spacing Distance = Spacing Criteria (SC) x Mounting Height (MH)
Planning your layout carefully makes your recessed lights look and work better.
Knowing When to Call an Expert
Sometimes, you need professional help. If wiring is old or complicated, an electrician can help. Call one if:
-
The circuit breaker keeps tripping during installation.
-
You don’t know local electrical rules.
-
The wiring doesn’t match your new LED lights.
Hiring an expert ensures your lights are installed safely and correctly. It also gives you confidence that the job is done well.
References
Doing a DIY project like installing LED ceiling lights is easier with good resources. Below is a list of helpful guides to assist you step by step.
Installation Guides and Manuals
-
Manufacturer’s Instructions: Always read the manual that comes with your light. It has important details about wiring, mounting, and safety.
-
Online Tutorials: Websites like Family Handyman and This Old House provide easy guides with pictures and videos.
Tip: Save these websites for future projects. They have great home improvement ideas!
Electrical Safety Resources
-
National Electrical Code (NEC): Visit NFPA.org to learn about electrical safety rules.
-
DIY Electrical Safety Tips: Check ESFI.org for simple tips on handling electricity safely.
Tools and Materials
-
Tool Reviews: Websites like Wirecutter help you find the best tools for your work.
-
LED Fixture Options: Check Energy Star for energy-saving lighting choices.
|
Resource Type |
Website/Source |
Why It’s Useful |
|---|---|---|
|
Installation Guides |
Family Handyman, This Old House |
Clear steps for installation |
|
Safety Standards |
NFPA, ESFI |
Teaches safe electrical practices |
|
Product Reviews |
Wirecutter, Energy Star |
Helps pick good tools and lights |
Note: Always compare information from different sources to be sure it’s correct.
These resources will help you feel ready and confident as you install your new lights. Have fun upgrading your space!
Switching to LED ceiling lights is a great idea. They save energy, look modern, and last a long time. LEDs use less power than old bulbs and last much longer.
-
Spend less on electricity.
-
Replace lights less often.
-
Add stylish lighting to your home.
Feel proud of your DIY project! 😊
FAQ
How can I tell if my ceiling holds an LED light?
Look at the fixture’s weight. Make sure your ceiling can handle it. Use a strong electrical box for heavier lights.
Do I need to rewire my house to add LED lights?
No, you don’t! Most LED lights work with current wiring. Check the product manual to confirm before starting.
What if my LED light doesn’t work after I install it?
Check the wires again to see if they’re connected right. Use a voltage tester to make sure power is reaching the light. If it still doesn’t work, call an electrician.
Tip: Keep the manual close by. It helps fix common problems. 😊