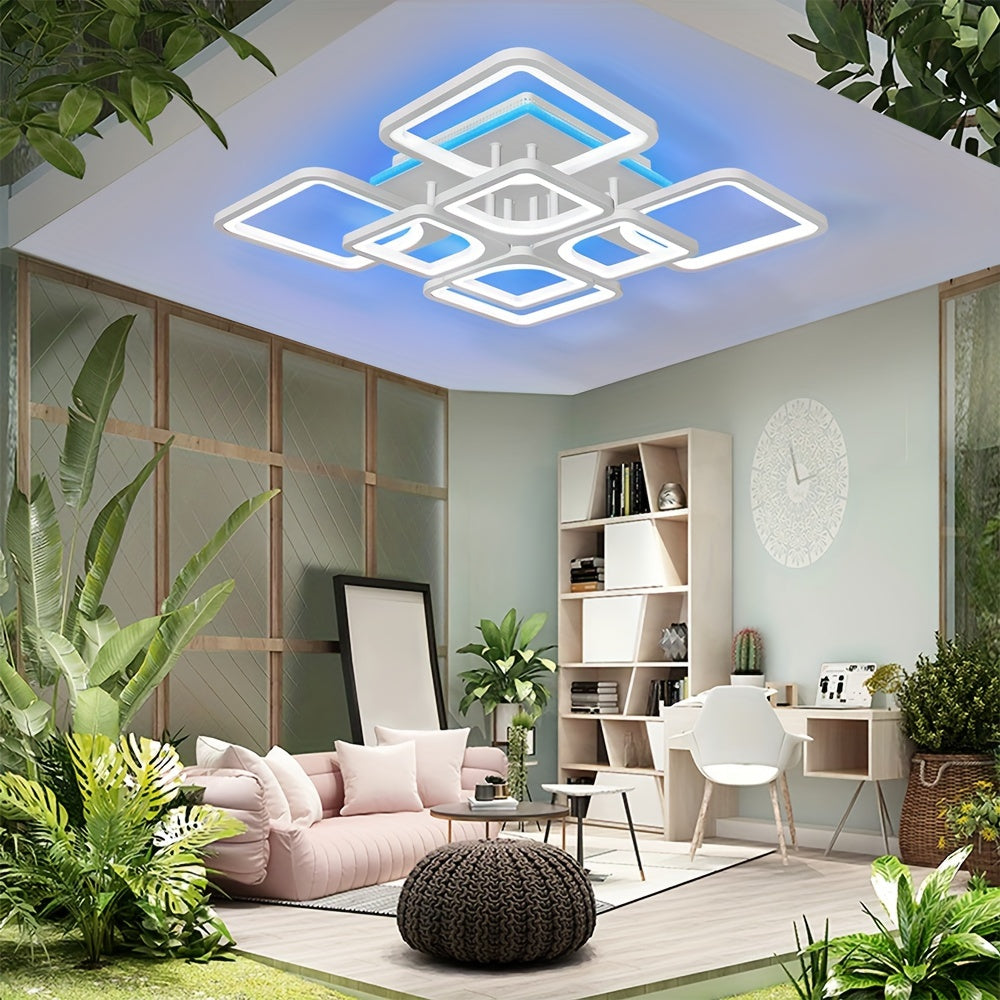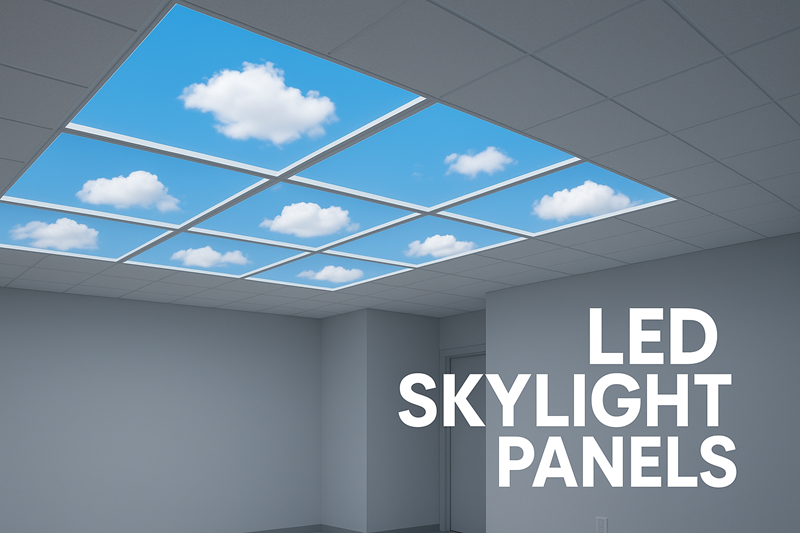
Have you ever wanted your dark room to feel brighter? A fake skylight can help make it more cheerful! It uses LED lights to look like real sunlight. For example, Mitsubishi's Misola panels change colors to copy sunlight. They adjust during the day to match how the sun moves. This makes your room feel less boring and more lively. With an easy DIY project, you can turn your ceiling into a fake sunlight window. It will look almost like the real thing. Are you ready to make your home brighter?
Key Takeaways
-
A fake skylight makes dark rooms brighter and improves mood. It uses LED lights to copy natural sunlight, making rooms feel happy.
-
Collect needed items like dimmable LED lights, a light diffuser panel, and a strong frame. These things help make the skylight look real and work well.
-
Follow simple steps to install it. Measure the space, build the frame, put in the lights, and finish with neat details for a nice look.
-
Pick good-quality materials for a more realistic skylight. Use frosted plastic sheets and sky-themed stickers to make it look better.
-
Place your skylight smartly to get the most light. The center of the room works best, and think about the room's size for even lighting.
Materials and Tools for a Fake Skylight
Essential Materials for a Realistic Fake Skylight
Before you start, gather the right materials to make your fake skylight look as realistic as possible. You’ll need LED lights that mimic natural sunlight. Look for dimmable options or smart lighting systems that let you adjust brightness and color. These features help create a lifelike effect.
Next, pick a light diffuser panel. This is the part that spreads the light evenly, making it look like sunlight streaming through a window. Acrylic sheets or frosted panels work well for this. If you want to add a decorative touch, consider using sky-themed films or decals. They can make your skylight look like it’s showing a clear blue sky or fluffy clouds.
Finally, don’t forget the frame. A sturdy wooden or metal frame will hold everything together. Choose materials that match your room’s style for a seamless look.
Tools Needed for Installation
Having the right tools makes the installation process much easier. Here’s a list of essentials:
-
Measuring tape: To measure the area where your skylight will go.
-
Saw or cutter: For cutting the frame and panels to the right size.
-
Drill: To create holes for screws or mounting brackets.
-
Screws or adhesive: To secure the frame and panels.
-
Screwdriver: For tightening screws.
-
Level: To ensure your skylight is perfectly aligned.
-
Scissors: Handy for trimming LED strips or decals.
If you want to take your fake skylight to the next level, consider optional tools like dimmable LED lights or smart lighting systems. These upgrades can make your skylight even more realistic and functional.
With these materials and tools, you’re ready to start building your realistic fake skylight.
Step-by-Step Guide to Installing a Fake Skylight
Measuring and Preparing the Area
Before you start building your fake skylight, you need to measure and prepare the area. This step ensures your project fits perfectly and looks professional.
-
Choose the location: Pick a spot on your ceiling where the skylight will have the most impact. A central location often works best.
-
Measure the dimensions: Use a measuring tape to determine the size of the skylight. Write down the length and width to avoid mistakes later.
-
Mark the area: Use a pencil or masking tape to outline the skylight on your ceiling. This will act as your guide during the installation process.
-
Check for obstructions: Look for anything that might block the light, like ceiling beams or wiring. Adjust your placement if needed.
Tip: If you’re unsure about the size, start with a smaller skylight. You can always expand it later if needed.
Building the Fake Skylight Frame
The frame is the backbone of your fake skylight. It holds everything together and gives the skylight its shape. Here’s how you can build a sturdy frame:
-
Select your materials: Use wood or metal for the frame. Wood is easier to work with, while metal offers more durability.
-
Cut the pieces: Measure and cut the materials to match the dimensions of your skylight. A saw or cutter will help you get clean edges.
-
Assemble the frame: Use screws or adhesive to join the pieces. Make sure the frame is square and sturdy.
-
Test the fit: Hold the frame up to the marked area on your ceiling. Adjust if it doesn’t align perfectly.
Here’s a quick comparison of different skylight frame types to help you decide:
|
Skylight Type |
Layers |
Thermal Insulation (W/m2K) |
Sound Insulation (dB) |
Light Transmission (%) |
Price (Eur) |
|---|---|---|---|---|---|
|
Two-layer dome |
2 |
3 |
24 |
84 |
214 |
|
Three-layer dome |
3 |
1.9 |
25 |
78 |
270 |
Note: If you’re building a DIY natural light window, a two-layer frame is usually sufficient for most homes.
Installing the Light Source
Now it’s time to bring your fake skylight to life by adding the light source. This step is where the magic happens!
-
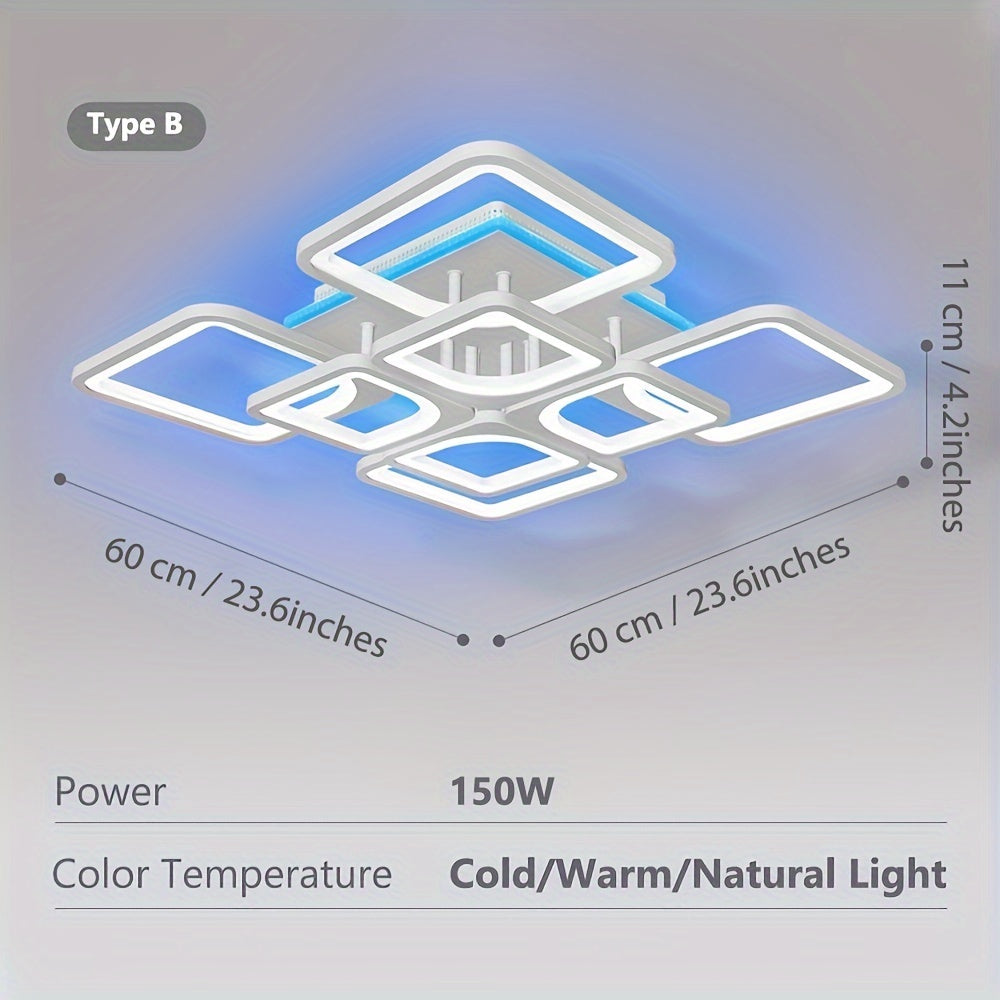
Choose your lights: Use LED panels or light strips that mimic natural sunlight. Dimmable or smart lights work best for creating a realistic effect.
-
Attach the lights to the frame: Secure the LED panels or strips inside the frame using screws or adhesive. Make sure they’re evenly spaced for consistent lighting.
-
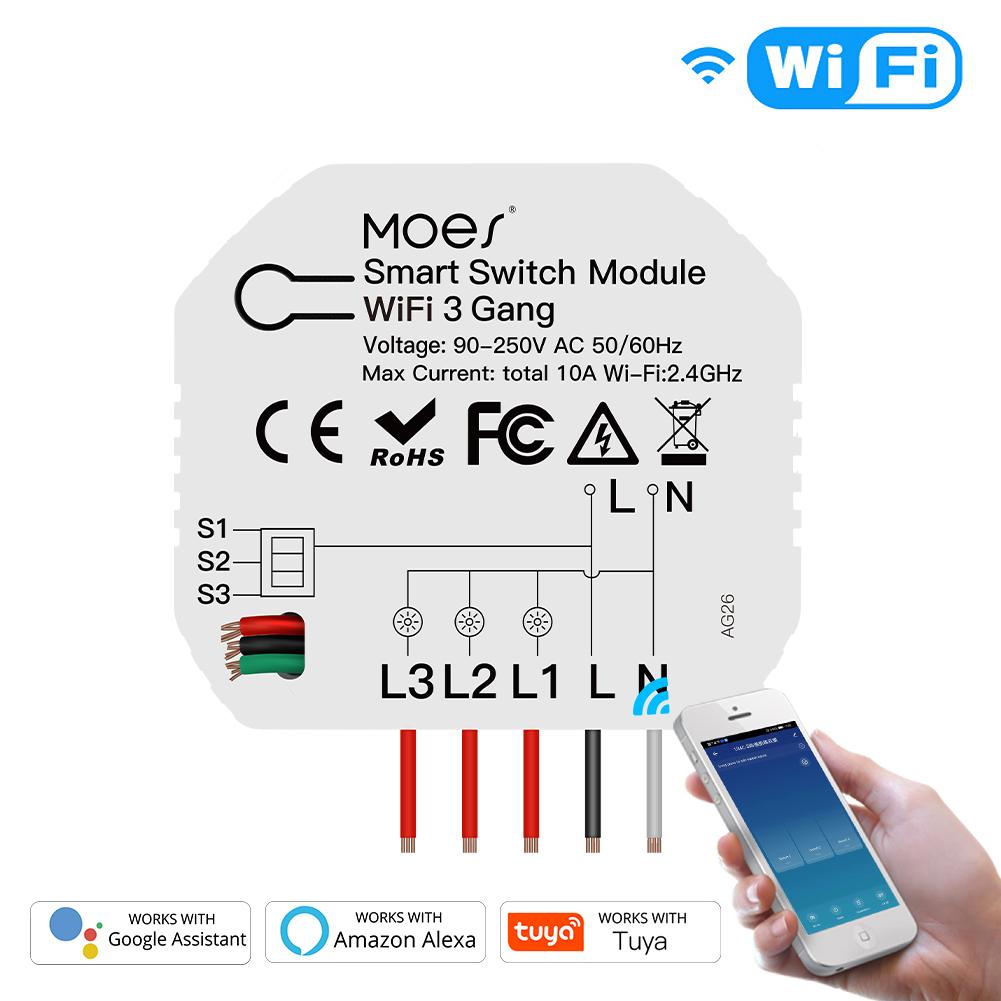
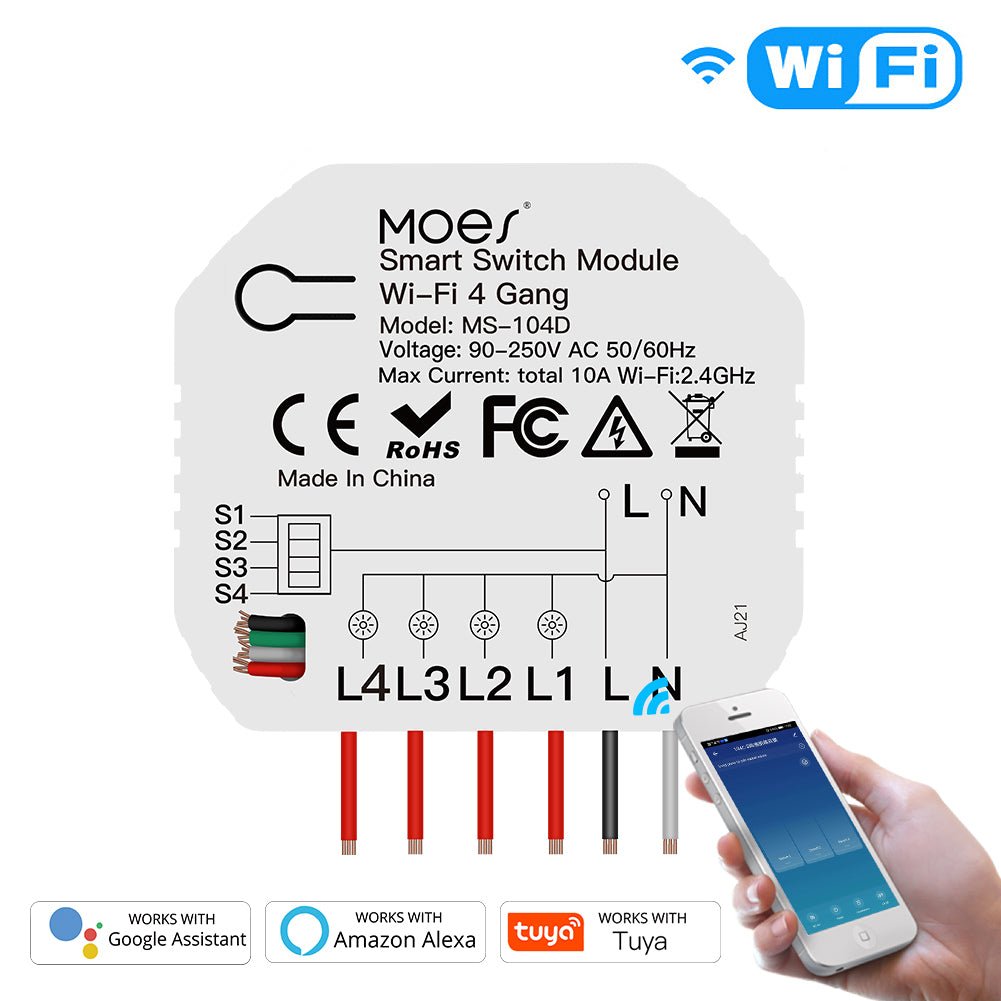
Connect the wiring: Follow the manufacturer’s instructions to connect the lights to a power source. If you’re not comfortable with wiring, consider hiring a professional.
-
Test the lights: Turn them on to check the brightness and color. Adjust the settings to match the natural light you want to mimic.
Pro Tip: Use a frosted acrylic sheet or diffuser panel to spread the light evenly. This will make your skylight look more natural and less like a light fixture.
Wiring and Securing the Lights
Now that your lights are in place, it’s time to wire and secure them properly. This step ensures your skylight works safely and efficiently. Don’t worry—it’s simpler than it sounds!
-
Plan your wiring route: Decide how you’ll connect the lights to a power source. If there’s an outlet nearby, you can use an adapter. For a cleaner look, consider hiding the wires behind the ceiling or walls.
-
Connect the wires: Follow the instructions provided with your LED lights. Usually, you’ll need to attach the wires from the lights to a power adapter or directly to the electrical system.
-
Secure the wiring: Use cable clips or adhesive hooks to keep the wires in place. This prevents them from dangling or getting tangled.
-
Test the connection: Plug in the lights and turn them on. Check if they’re working as expected. If something seems off, double-check the connections.
Safety Tip: If you’re not comfortable working with electrical wiring, it’s a good idea to call an electrician. Safety always comes first!
Once the wiring is complete, your skylight will start to come to life. You’re almost there—just a few finishing touches left!
Adding Finishing Touches
The final step is all about making your skylight look polished and realistic. These small details can make a big difference in the overall effect.
-
Install the diffuser panel: Place the frosted acrylic sheet or light diffuser over the lights. This spreads the light evenly and softens its appearance, making it look more like natural sunlight.
-
Secure the panel: Attach the diffuser to the frame using screws or adhesive. Make sure it’s firmly in place to avoid any gaps.
-
Add decorative elements: If you want to enhance the realism, consider adding sky-themed decals or films. These can create the illusion of a sunny sky or fluffy clouds.
-
Paint or finish the frame: Match the frame’s color to your ceiling or room decor. A seamless finish helps the skylight blend in naturally.
-
Clean up: Wipe down the skylight to remove any dust or fingerprints. A clean surface ensures the light shines through beautifully.
Pro Tip: If you’re aiming for a high-end look, use high-quality materials for the diffuser and frame. It’s worth the investment for a more realistic effect.
With these finishing touches, your skylight is complete! Step back and admire your work. You’ve just transformed your space with a stunning DIY project.
Tips for Creating a Realistic Fake Skylight
Picking the Right Light Source
Choosing the right light is very important. You need lights that copy natural sunlight closely. LED lights are a great choice. They save energy and can be adjusted. Pick ones that let you change brightness and color. This helps make the light look like real daylight.
Some LED panels don’t work well for skylights. Backlit panels with pictures might seem easy, but they lack depth. They don’t feel like looking at the sky. Instead, try advanced lights like Innerscene's Virtual Sun. These lights add depth and look more natural.
|
Light Source |
Realism Level |
Features |
|---|---|---|
|
Traditional LED Panels |
Low |
Backlit with printed images; lacks depth and natural light simulation. |
|
Innerscene's Virtual Sun |
High |
Offers depth perception and mimics natural sunlight patterns effectively. |
Tip: Spend more on lights that copy sunlight patterns. It’s worth it for a better look.
Using Good Materials for Realism
The materials you use are very important. Start with a good diffuser panel. Frosted acrylic sheets spread light evenly. They make the light softer and more natural.
Sky-themed films or decals can make your skylight look even better. You can choose designs like blue skies, clouds, or stars. These add depth and make the skylight feel real.
Don’t forget the frame. A strong and nice-looking frame holds everything together. Use wood or metal that matches your room. A good finish helps the skylight blend into the ceiling.
Pro Tip: Spending more on good materials saves time later. It also makes your project look professional.
Placing Your Skylight for Best Results
Where you put your skylight matters a lot. Think about rooms that need more light. A central spot on the ceiling usually works best.
Keep these things in mind when choosing the location:
|
Key Considerations |
Description |
|---|---|
|
Daylight-optimized building footprint |
Place the skylight where it adds the most light, especially in dark rooms. |
|
Glare control and shading devices |
Avoid spots where light might cause glare. Use diffusers or shading films to soften it. |
|
Integrated design approach |
Make sure the skylight matches the room’s style. A well-placed skylight looks natural and improves the space. |
Note: If you’re adding more than one skylight, space them out evenly. This keeps the lighting balanced across the room.
Smart placement can make your room brighter and more welcoming.
Troubleshooting Common Challenges
Fixing Installation Problems
Sometimes, putting in a skylight doesn’t go smoothly. Issues like bad sealing, crooked flashing, or poor insulation can happen. These problems may cause leaks, energy waste, or damage later. To avoid this, use good materials and prepare well.
Make sure the skylight is sealed tightly. Use strong sealants and flashing to block water and save energy. If you see leaks, check the seals and fix them fast. Cleaning gutters and removing roof debris also stops water from pooling near the skylight.
Follow proper steps for easier installation. Cut openings carefully, secure the skylight with screws, and seal edges with silicone caulk. If you’re unsure, hire a pro. They’ll install it right and follow building rules.
Tip: Install during mild weather. Extreme heat or cold can weaken adhesives.
Solving Lighting Problems
Lighting troubles can ruin your skylight’s look. Problems like flickering, uneven light, or bad colors are common. Fix these by checking the lights and setup.
First, inspect the LED panels or strips. Flickering might mean loose wires or a bad power connection. Tighten the wires and test again. For uneven light, space the lights evenly in the frame. Adding a frosted diffuser panel spreads light better.
If colors seem wrong, adjust your smart lighting settings. Some systems copy natural sunlight patterns, making the skylight look real. For advanced options, try products like Innerscene’s Virtual Sun for more depth and realism.
Pro Tip: Check your lights often to catch problems early. This keeps your skylight looking great.
Matching Room Size and Ceiling Type
Rooms and ceilings come in different sizes and shapes. Your skylight should fit the space well. A big skylight might overpower a small room. A tiny skylight could look odd in a large room.
Measure your room and ceiling carefully. For small rooms, pick smaller skylights that brighten without taking over. In bigger spaces, use larger skylights or several smaller ones for balance.
Ceiling shape matters too. Flat ceilings are easier to work with. Sloped or vaulted ceilings need extra planning. You might need custom frames or angled lights to match the ceiling.
Note: If you’re unsure about size or placement, ask a pro. They can design a skylight that fits your room perfectly.
These tips will help your skylight look great and fit your space.
Making a fake skylight is an easy and fun DIY project. It can change how your home feels. It brightens dark rooms, makes spaces seem larger, and lifts your mood. Also, it saves energy and lowers your lighting bills.
Here’s a quick list of the benefits:
|
Benefit |
What It Does |
|---|---|
|
More Natural Light |
Adds brightness to dark rooms, making them feel cheerful. |
|
Saves Energy |
Cuts down on using regular lights, helping lower energy costs. |
|
Better Airflow |
Vented skylights let air in, keeping homes cooler in summer. |
|
Boosts Mood |
Extra natural light helps you feel happier and less stressed. |
|
Makes Rooms Look Bigger |
Bright light makes small spaces feel open and less cramped. |
Why wait? Start this exciting DIY project today. Enjoy the warm, natural light from your new skylight. A small effort can make a big change!
FAQ
What is a fake skylight, and how does it work?
A fake skylight is a ceiling-mounted light fixture that mimics natural sunlight. It uses LED lights and a diffuser panel to create the illusion of daylight streaming through a window. It’s perfect for brightening dark spaces.
Can I install a fake skylight without professional help?
Yes, you can! Installing a fake skylight is a beginner-friendly DIY project. With the right tools and materials, you can follow the steps in this guide to complete it yourself.
Tip: If you’re unsure about wiring, consult an electrician for safety.
How much does it cost to build a fake skylight?
The cost depends on the materials and lights you choose. Basic setups can cost around $100, while high-end options with smart lighting may go up to $500.
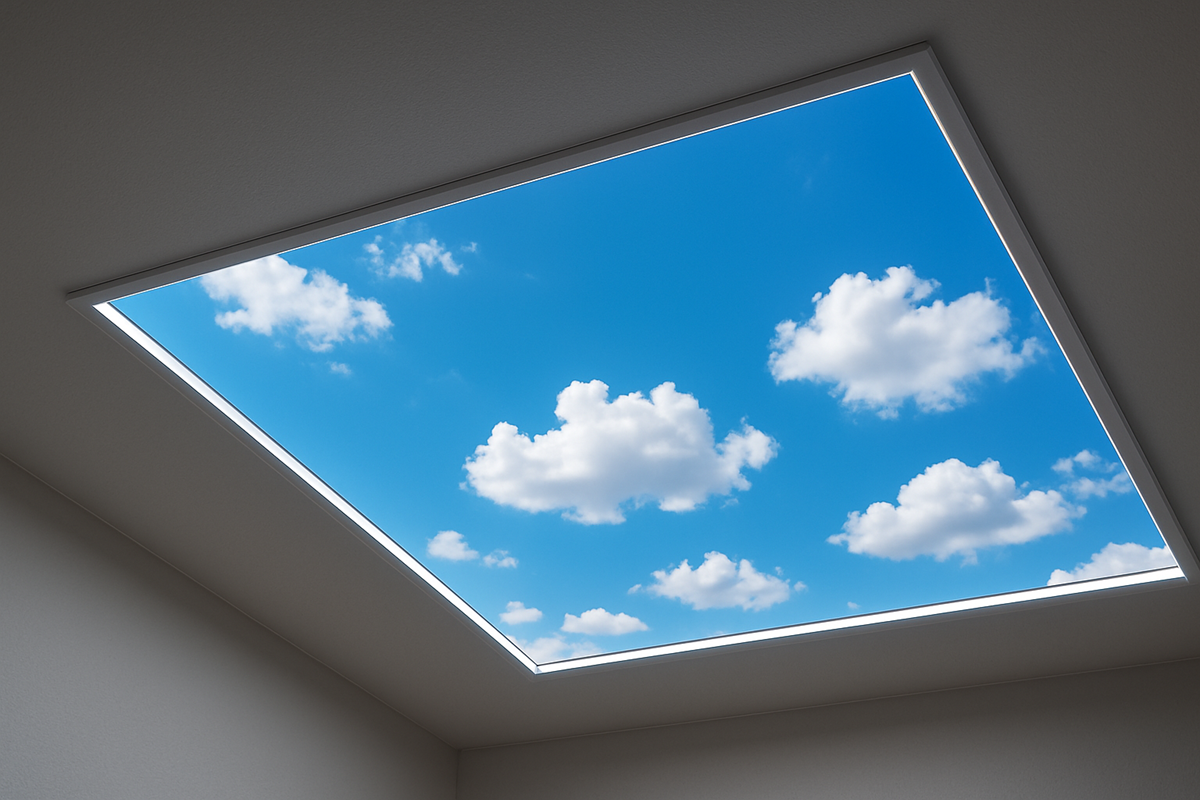
Do fake skylights look realistic?
Absolutely! Using high-quality LED lights and a good diffuser panel makes a big difference. Adding sky-themed decals or films enhances the realism even more.
Are fake skylights energy-efficient?
Yes, they are! LED lights use less energy than traditional bulbs. Plus, you can adjust the brightness to save even more energy.
Pro Tip: Use dimmable or smart LEDs for better control and efficiency.