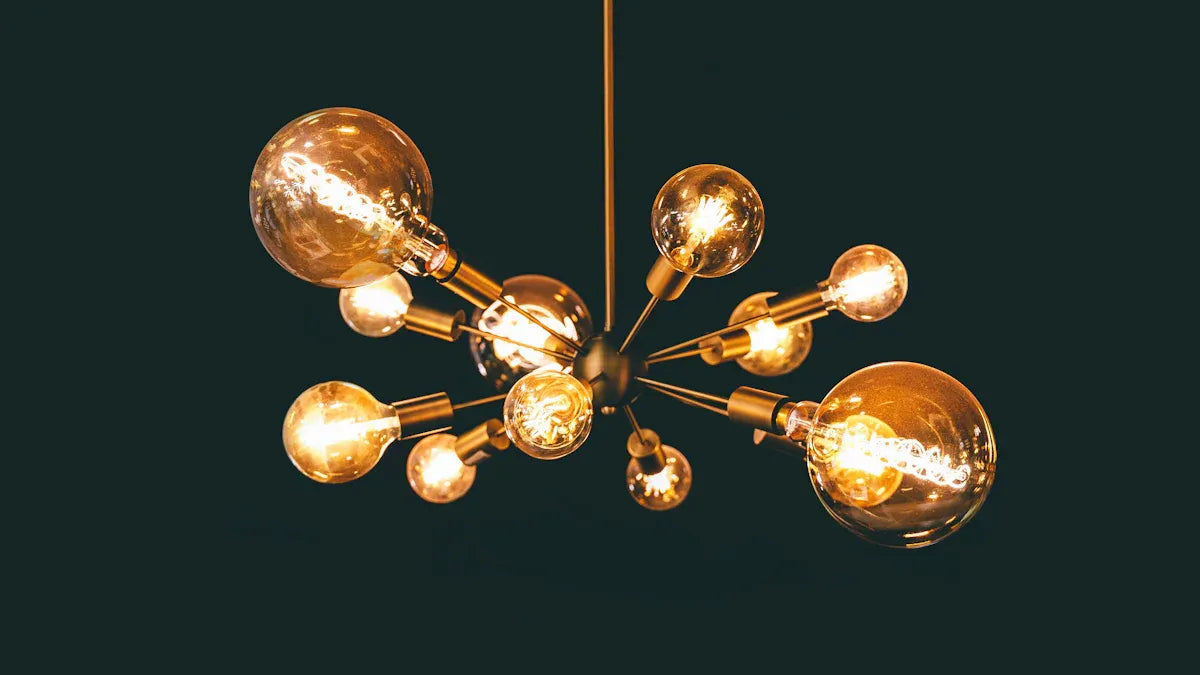
Transforming your home with smart led strip lights is easier than you might think. These versatile lighting solutions can elevate the atmosphere of any room, whether you want a cosy glow or vibrant party vibes. You’ll find the process straightforward, even if you’re new to DIY. With just a few tools and a bit of preparation, you can install these lights in no time. Customising them adds a personal touch, letting you adjust colours, brightness, and effects to fit your style.
Key Takeaways
-
Collect all tools and materials before you begin. You will need smart LED strips, sticky tape, and a power source for an easy setup.
-
Pick the right LED strips by checking brightness, colour, and if they are waterproof. Good quality parts are safer and work better.
-
Clean the surface and plan where to place the strips. This helps them stick well and last longer.
-
Connect your LED strips to a smart app for better control. You can change brightness, colours, and set timers easily.
-
Take care of your LED strips by cleaning and checking wires. This helps them last longer and work properly.
Preparation for Smart LED Strip Lights
Tools and Supplies Needed
Before you begin, gather all the necessary tools and supplies. Having everything ready will make the installation process smoother. Here’s what you’ll need:
-
Smart LED strip lights
-
Measuring tape
-
Scissors (for cutting the strips, if needed)
-
Adhesive or mounting clips
-
Power supply unit
-
Smart controller or hub (if required)
-
Cleaning supplies (like a cloth and rubbing alcohol)
Make sure your tools are in good condition. For example, use sharp scissors to avoid damaging the LED strips when cutting them.
Selecting the Right LED Strip Lights
Choosing the right LED strip lights is crucial for achieving the desired effect. Look for these key specifications:
-
Brightness and colour temperature to match your room’s ambience.
-
Length and flexibility to fit your installation area.
-
Waterproofing (IP65 or IP67) for outdoor or humid spaces.
-
Voltage and power supply compatibility.
-
Control options, such as app or voice control.
Pay attention to the quality of the resistors and PCBs in the strips. High-quality components ensure efficient power distribution and prevent overheating. Also, check for certifications like UL or CE to ensure safety and reliability.
Preparing the Surface for Installation
Proper surface preparation is essential for a secure and long-lasting installation. Follow these steps:
-
Clean the surface thoroughly using a cloth and rubbing alcohol. This removes dust and grease, ensuring the adhesive sticks well.
-
Let the surface dry completely before attaching the strips.
-
Plan the layout of the LED strips. Mark the areas where you’ll place them to avoid mistakes during installation.
Tip: Avoid installing LED strips on uneven or textured surfaces. This can weaken the adhesive bond and cause the strips to peel off over time.
Taking the time to prepare properly will save you from potential issues later on.
Installing Smart LED Strip Lights
Measuring and Cutting the Strips
Start by measuring the area where you plan to install the smart LED strip lights. Use a measuring tape to determine the exact length required. Most LED strips come with marked cutting points, usually every 5 cm or 10 cm. Cut only at these points to avoid damaging the circuit.
Tip: Always double-check your measurements before cutting. Mistakes can lead to wasted materials or uneven lighting.
If you need to connect multiple strips, use connectors or soldering to join them. Connectors are a quick and easy option, while soldering provides a more secure connection.
Attaching the Strips to the Surface
Once the strips are ready, attach them to the prepared surface. Peel off the protective backing from the adhesive and press the strip firmly onto the surface. For best results, use high-quality adhesive tape like 3M VHB 5608N. This tape performs well in harsh temperatures and ensures a strong bond.
|
Advantages of Adhesive Tape |
Disadvantages |
|---|---|
|
Quick installation |
Risk of loosening over time |
|
No need for drilling or tools |
Potential wall damage upon removal |
|
Saves time |
N/A |
|
Removable |
N/A |
|
Cost-effective |
N/A |
Avoid using inferior adhesive tapes, as they may weaken over time or melt under high temperatures, causing the strips to fall off.
Connecting the Power Supply
Connect the LED strips to the power supply. Ensure the voltage and current of the power supply match the requirements of your LED strips. For example, a 12V strip with a power consumption of 50W will need a power supply with at least 5A output.
|
Voltage Type |
Common Voltage |
Current Calculation Example |
Required Current Output |
|---|---|---|---|
|
Low Voltage |
12V, 24V |
≥5A |
|
|
High Voltage |
220V AC |
N/A |
N/A |
After connecting the power supply, test the strips to ensure they light up correctly. If they don’t, check the connections and ensure the power supply is functioning.
Note: Always turn off the power before handling electrical connections to avoid accidents.
Smart Integration of LED Strip Lights
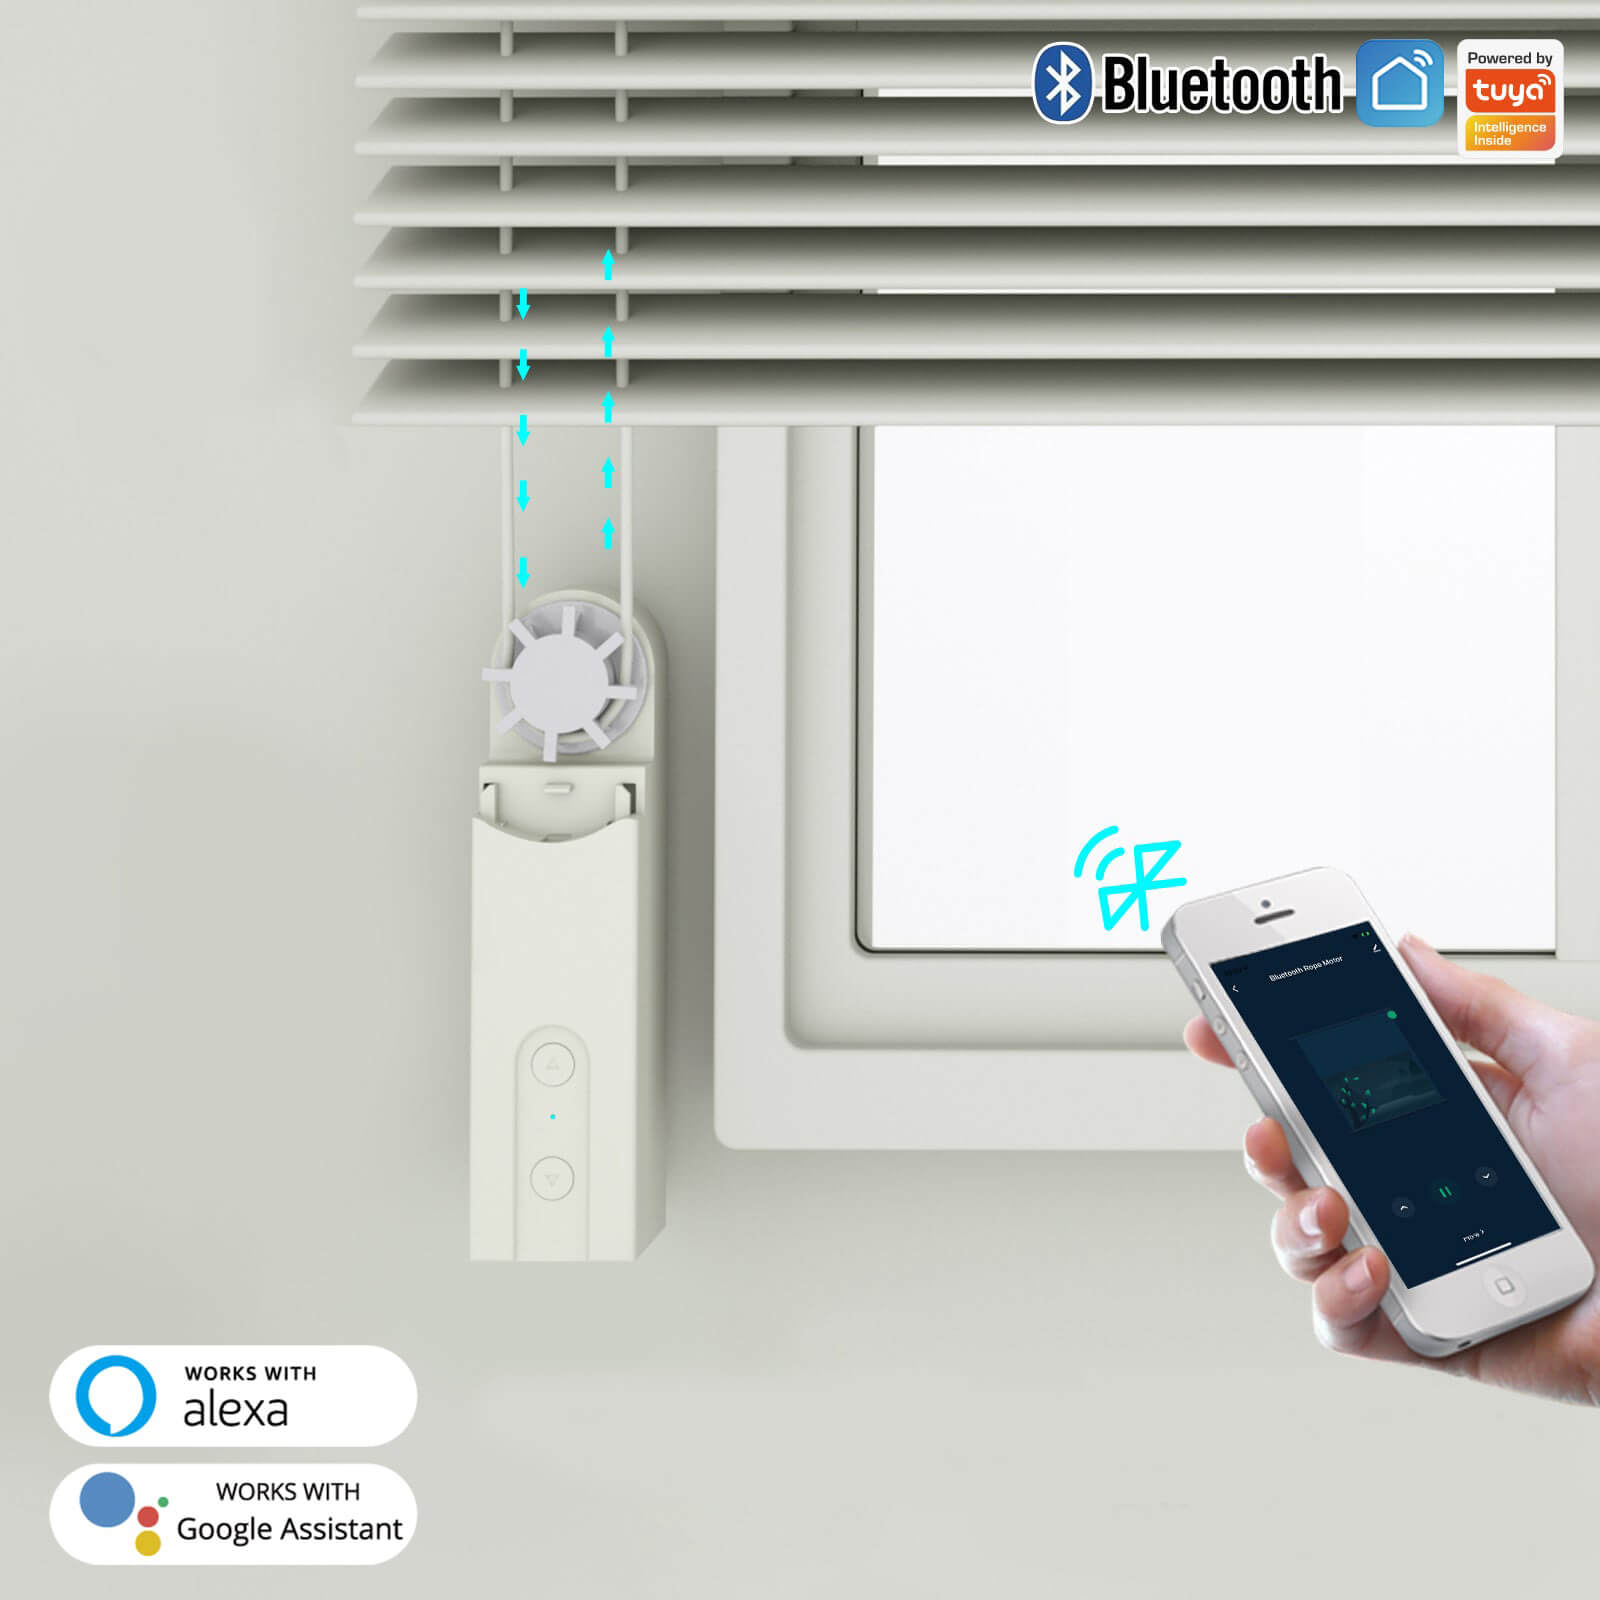
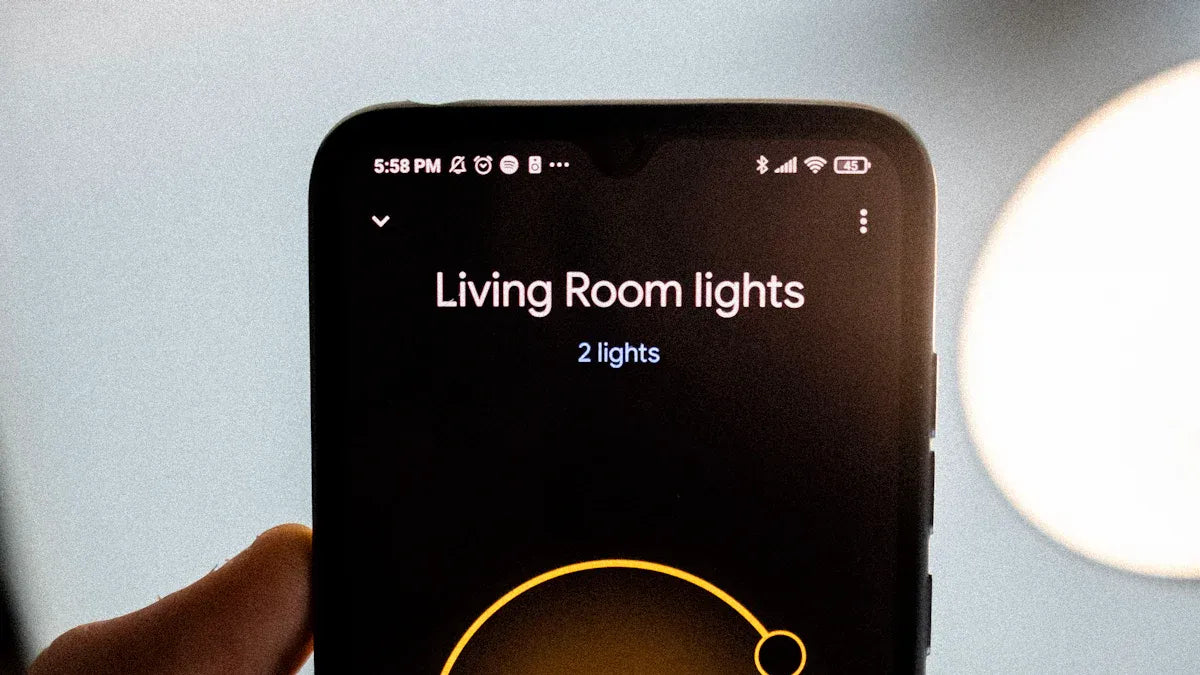
Setting Up with a Smart App
To unlock the full potential of your smart LED strip lights, start by setting them up with a compatible smart app. Most LED strips come with a dedicated app that you can download from your device’s app store. Once installed, follow these steps:
-
Connect the LED strip lights to the power supply and turn them on.
-
Open the app and create an account if required.
-
Use the app to scan for nearby devices. Select your LED strip lights from the list.
-
Follow the on-screen instructions to pair the lights with your Wi-Fi or Bluetooth network.
Wi-Fi is the most popular connectivity option due to its robust performance and compatibility with home networks. It allows you to control your lights from anywhere. Bluetooth, while useful for localised control, has a limited range. Apps often provide features like adjusting brightness, changing colours, and setting schedules. A user-friendly interface ensures a smooth experience, even for beginners.
|
Metric |
Description |
|---|---|
|
Brightness |
Maximum lumens output of up to 1100 lumens, crucial for optimal illumination. |
|
Colour Range |
Spectrum of colours available, ranging from 1,500K to 9,000K, ensuring vibrant colour options. |
|
Ease of Use |
User-friendly app interface and straightforward installation process enhance user experience. |
|
Voice Control |
Compatibility with voice commands, improving convenience and control over lighting settings. |
Connecting to Smart Home Systems
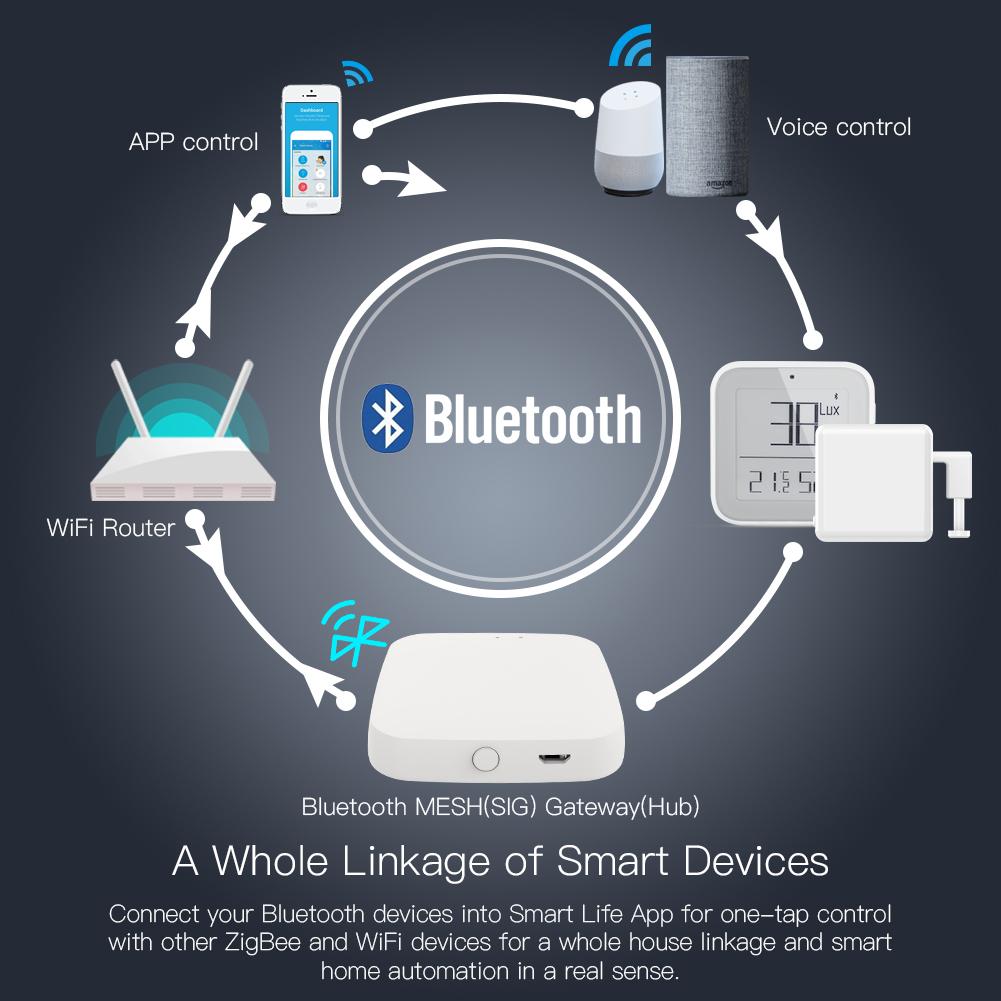
Integrating your LED strip lights with a smart home system enhances their functionality. Many LED controllers support platforms like Amazon Alexa, Google Home, and Apple HomeKit. This allows you to control your lights using voice commands or through a centralised hub.
When connecting to a smart home system, ensure the LED controller matches your strip’s configuration. For example:
-
RGB controllers work only with RGB strips, not RGBW ones.
-
Some controllers are designed for addressable LED strips, while others are for non-addressable ones.
Smart LED controllers with Wi-Fi or Bluetooth enable features like scheduling and integration with other smart devices. You can create automations, such as dimming the lights when watching a movie or turning them on as part of a security system.
Tip: Use a smart home hub for seamless control of multiple devices, including your LED strip lights.
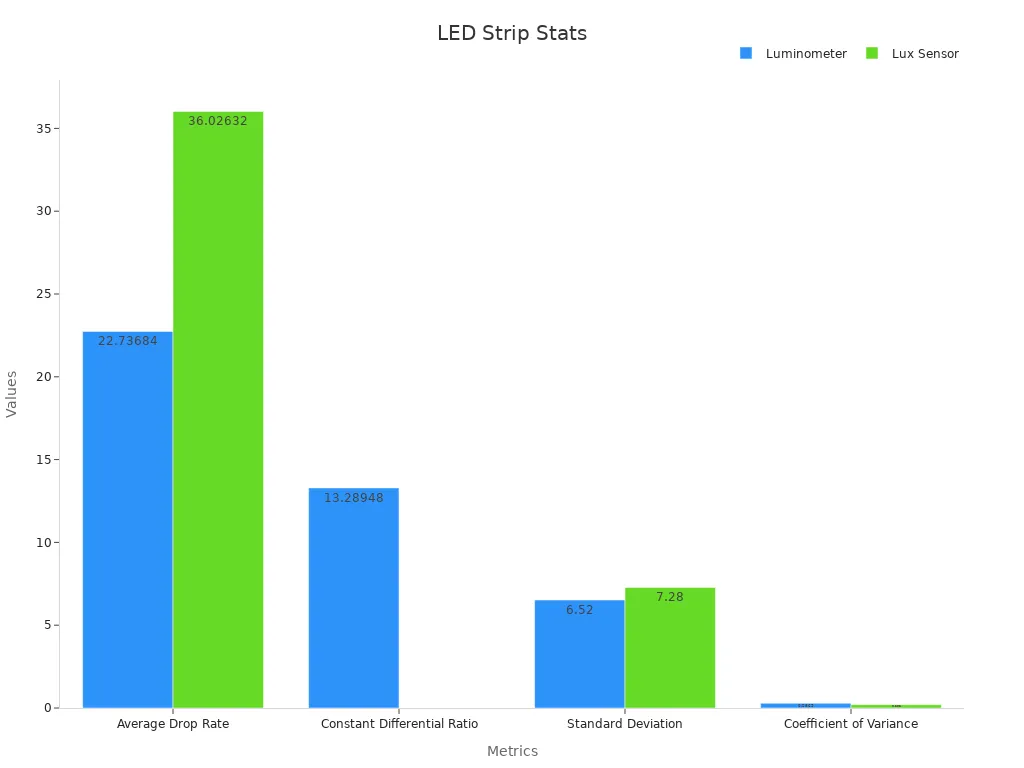
Testing and Basic Controls
After integration, test your LED strip lights to ensure everything works as expected. Start by checking the basic controls through the app or smart home system. Adjust the brightness, change colours, and try out different effects.
Testing procedures often include:
|
Test Procedure |
Description |
|---|---|
|
Electrical Performance Test |
Measures working current, actual power, and energy consumption against design requirements. |
|
Luminous Efficiency Performance Test |
Assesses colour coordinates, luminous flux, and efficiency using photometers or integrating spheres. |
|
Environmental Adaptability Test |
Tests weather resistance, vibration impact, waterproof performance, and corrosion resistance. |
If any issues arise, double-check the connections and app settings. Testing ensures your smart LED strip lights are ready to deliver the perfect ambience for your home.
Customising Smart LED Strip Lights
Adjusting Colours and Brightness
Customising the colours and brightness of your smart LED strip lights allows you to create the perfect atmosphere for any occasion. Most LED strips offer a wide range of colour options, from warm whites to vibrant hues. Colour temperature, measured in Kelvin, plays a key role in setting the mood. For instance, 2700K provides a cosy, warm glow, while 5000K offers a bright, daylight-like effect. Manufacturers often include a tolerance level for colour temperature, which can slightly affect the final output.
Brightness levels are equally important. You can adjust the lumens to suit your needs, whether you want a dim, relaxing light or a bright, energising one. Choosing a brighter LED strip than necessary is a good idea, as dimming options give you flexibility. Some strips also allow you to fine-tune the colour rendering index (CRI) to ensure accurate and vibrant colours.
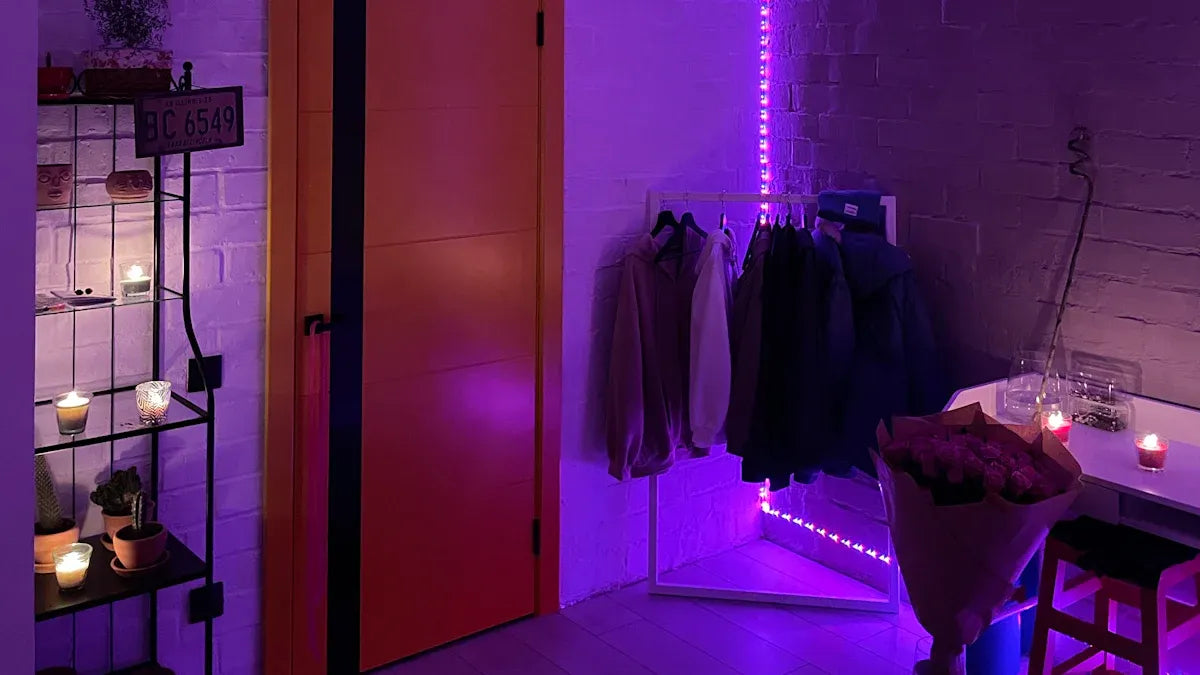
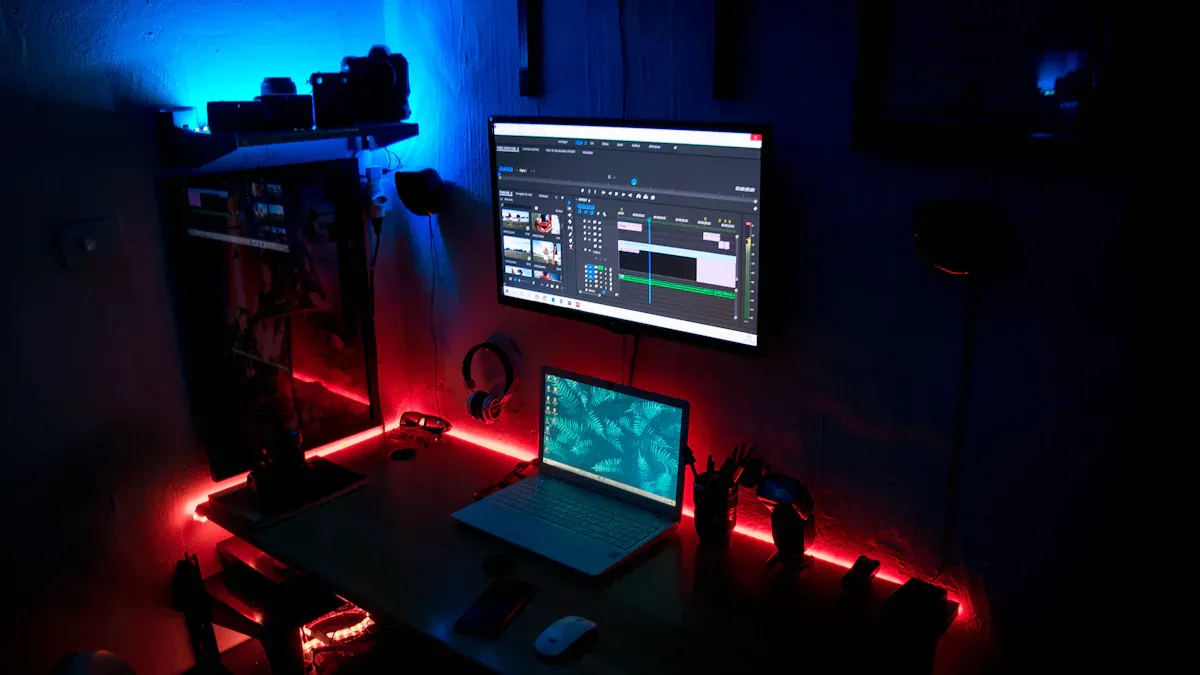
Creating Patterns and Effects
Patterns and effects add a dynamic touch to your lighting setup. Many smart LED strip lights come with pre-programmed effects like fading, flashing, or colour cycling. You can also create custom patterns using the app or controller. For example, you might set a wave effect for a calming ambience or a strobe effect for a party vibe.
When selecting LED strips, consider features like addressable LEDs, which let you control individual segments of the strip. This enables advanced effects, such as chasing lights or rainbow patterns. Comparing specifications like PCB thickness and TLCI (Television Lighting Consistency Index) can help you choose a strip that delivers smooth and consistent effects.
Setting Schedules and Automations
Scheduling and automation features make your lighting setup more convenient and efficient. By integrating your LED strips with a smart home system, you can control them remotely through your smartphone or voice-activated devices. This allows you to set schedules for turning the lights on or off based on your daily routine.
For example, you could program the lights to dim in the evening for a relaxing atmosphere or brighten in the morning to help you wake up. Automation can also respond to environmental conditions, such as turning on the lights when it gets dark. These features not only enhance convenience but also improve energy efficiency by ensuring the lights are only on when needed.
Tip: Use a smart app to experiment with different schedules and automations until you find the perfect setup for your home.
Tips and Troubleshooting for LED Strip Lights
Avoiding Common Installation Mistakes
Installing smart LED strip lights can be simple, but mistakes during the process may lead to issues later. Follow these steps to avoid common errors:
-
Complete all preparation steps, including cleaning the surface and planning the layout.
-
Cut the LED strip only at marked points to prevent circuit damage.
-
Use connectors to join strips securely, ensuring proper alignment.
-
Test the lights after installation to confirm they work correctly.
-
Check all wires and diodes for secure connections.
Tip: Always double-check your measurements before cutting the strips. Incorrect lengths can waste materials and disrupt the lighting design.
Resolving Connectivity Issues
Connectivity problems can prevent you from fully enjoying your smart LED strip lights. If you encounter issues, try these troubleshooting tips:
-
Ensure your LED controller is compatible with your smart home system. For example, RGB controllers work only with RGB strips.
-
Verify that your Wi-Fi or Bluetooth connection is stable. Weak signals can cause delays or disconnections.
-
Restart the smart app and reconnect the lights if they fail to respond.
-
Check the connectors and wiring for loose or misaligned connections.
Testing the lights after resolving connectivity issues ensures they function as expected. Adjust the settings in the app to confirm that all features, such as colour changes and brightness adjustments, work properly.
Maintaining and Enhancing Longevity
Proper maintenance can extend the lifespan of your LED strip lights. Follow these tips to keep them in excellent condition:
-
Clean the strips regularly to remove dust and maintain brightness. Avoid harsh cleaning agents, especially for low IP-rated strips.
-
Inspect connections, wiring, and LED chips frequently to identify and fix potential damage early.
-
Use high-quality components, such as double-layer pure copper boards, to minimise heat generation and improve current flow.
-
Implement surge protection to safeguard against electrical surges.
|
Factor |
Description |
|---|---|
|
Flexible Printed Circuit Board (FPCB) |
High-quality, double-layer pure copper boards minimise heat generation and enhance current flow. |
|
Double-sided Tape |
Use of 3M VHB tape ensures optimal thermal conductivity and performance. |
|
Resistors |
Proper resistor selection regulates LED brightness and prevents premature failure. |
|
Power Supply |
A reliable power supply is essential to avoid unstable voltages that can damage the LED strip. |
Note: Outdoor installations require additional care. Check for environmental exposure and choose waterproof strips with appropriate IP ratings.
By following these tips, you can ensure your smart LED strip lights remain functional and vibrant for years to come.
Installing and customising smart LED strip lights offers a simple way to elevate your home’s lighting. These lights combine energy efficiency with long-term cost savings, making them a practical and eco-friendly choice. Their low power consumption and extended lifespan reduce electricity bills and minimise the need for replacements. Compared to traditional lighting, they consume up to 80% less energy and emit minimal heat, which contributes to a smaller carbon footprint.
By following the steps in this guide, you can create a personalised lighting setup tailored to your preferences. Experiment with colours, patterns, and smart features to transform your space into something truly unique. Whether you want a cosy atmosphere or a vibrant display, smart LED strip lights provide endless possibilities for customisation.
Resources for Smart LED Strip Lights
📚 Books
- "Smart Home Automation with Linux and Raspberry Pi" by Steven Goodwin - Comprehensive guide on DIY smart home projects including LED lighting systems.
- "DIY Smart Home: The Essential Handbook" by Anthony Wright - Features detailed sections on LED strip installation and smart integration.
🌐 Online Tutorials & Guides
- Adafruit LED Strip Guide - Detailed technical documentation for NeoPixel LED strips with wiring diagrams and code examples.
- Phillips Hue Developers - Resource for integrating LED strips with the Hue ecosystem.
- Smart Home University - Comprehensive beginner-friendly guide to smart LED strip installation.
📱 Apps & Control Resources
- IFTTT - Platform for creating automations between smart LED strips and other devices.
- Home Assistant - Open-source home automation platform with extensive LED light integration options.
🎬 YouTube Channels & Videos
- The Hook Up - Specializes in smart home lighting tutorials and product reviews.
- DIY Perks - Creative LED projects with detailed instructions.
- Smart Home Solver - Tutorials on integrating LED strips with various smart home systems.
🔧 Technical Resources
- LED Strip Calculator - Tool for calculating power requirements for LED installations.
- Electronics Hub LED Guide - Technical information about different types of LED strips.
🛒 Product Comparison Platforms
- Zigbee Alliance - Information on Zigbee-compatible LED controllers and ecosystems.
- SmartThings Community - Forum with discussions about integrating various LED strips with SmartThings.
📊 Testing & Troubleshooting
- LEDTest.com - Resources for testing LED performance and resolving common issues.
- Electrical Safety First - Guidance on electrical safety for DIY LED installations.
These resources cover the entire spectrum from beginner installation guides to advanced customization techniques for your smart LED strip lighting project.
FAQ
What is the lifespan of smart LED strip lights?
Most smart LED strip lights last between 20,000 and 50,000 hours. This depends on the quality of the product and how you use it. Proper maintenance, such as cleaning and avoiding overheating, can extend their lifespan.
Can I cut and reconnect LED strip lights?
Yes, you can cut LED strip lights at marked cutting points. Use connectors or soldering to reconnect them. Always ensure the connections are secure and match the strip’s voltage requirements to avoid damage.
Are smart LED strip lights energy-efficient?
Smart LED strip lights are highly energy-efficient. They consume up to 80% less energy than traditional lighting. Their low power consumption helps reduce electricity bills and makes them an eco-friendly choice.
Do I need a smart home system to use smart LED strip lights?
No, you don’t need a smart home system. Most LED strips work with a dedicated app or remote control. However, integrating them with a smart home system adds convenience and advanced features like voice control and automation.
Can I use smart LED strip lights outdoors?
Yes, but only if they are waterproof. Look for LED strips with an IP65 or higher rating for outdoor use. These strips resist water and dust, making them suitable for patios, gardens, or other exposed areas.
Tip: Always check the product specifications to ensure it meets your outdoor requirements.