Have you ever wondered how to install smart light switch systems in your home? It’s easier than you think! With a little preparation, you can replace your old switch with a smart light switch in no time. You’ll enjoy the convenience of controlling your lights with just a tap or voice command.
Key Takeaways
-
Get tools like wire cutters, a screwdriver, and a voltage tester. Being ready helps make the job easy and safe.
-
Turn off power at the breaker and check with a voltage tester. Make sure no electricity is flowing. Safety comes first when working with wires.
-
See if your home wiring works with the smart switch. Look for a neutral wire. If there isn’t one, use a no-neutral smart switch.
Tools and Preparation for the Installation Process
Before starting to install a smart light switch, gather the right tools. Preparing your wiring setup is also important. This helps make the process safe and smooth.
Essential Tools for Installing a Smart Light Switch
You don’t need many tools to install a smart light switch. A few simple ones will work. Here’s what you’ll need:
-
Terminal screwdriver
-
Knife
-
Voltage tester
-
Optional: Drill with large drill bits
-
Wire connectors (often included in the switch kit)
These tools help you cut wires, connect them, and check for electricity. If you don’t have them, you can buy them at a hardware store.
Tip: Always use a voltage tester. It ensures the power is off before you begin, keeping you safe.
Preparing Your Switch Box and Wiring
Getting your switch box ready is very important. Follow these steps to prepare everything:
-
Expose Your Current Wiring: Turn off the power at the breaker. Remove the wall plate and old switch to see the wires.
-
Find the Neutral Wires: Look for neutral wires in the switch box. Many smart light switches need these, especially in older homes.
-
Label and Disconnect: Take a picture of the wires. Label them to avoid mistakes later. Then, disconnect them from the old switch.
-
Attach the New Switch: Once ready, follow the instructions in the smart switch manual to connect the wires.
These steps keep your wiring neat and ready for the new switch.
Note: Homes built before the 1980s might not have neutral wires. If you don’t find them, get a no-neutral switch or ask an electrician for help.
Verifying Compatibility with Your Home Wiring
Not all smart light switches work with every home. Check if your switch matches your wiring before starting. Here’s what to check:
-
Neutral Wire Requirement: Many switches need a neutral wire. If your home doesn’t have one, get a no-neutral switch.
-
Switch Box Size: Smart switches are bigger than regular ones. Make sure your box has enough space for the switch and wires.
-
Wi-Fi Compatibility: Some switches need a 2.4 GHz Wi-Fi network. Check if your home Wi-Fi supports this.
Tip: If you’re unsure, read the product manual or contact the manufacturer for help.
By checking these details, you’ll avoid problems and ensure your smart light switch works well in your home.
Step-by-Step Guide to Install a Smart Light Switch
Turning Off Power and Ensuring Safety
Before you start, safety should be your top priority. Working with electricity can be dangerous if precautions aren’t taken. Follow these steps to ensure a safe installation process:
-
Turn Off the Power: Go to your home’s circuit breaker box and switch off the breaker controlling the light switch you’re replacing. This step ensures no current flows through the wires.
-
Double-Check with a Voltage Tester: Even after turning off the breaker, use a voltage tester to confirm there’s no electricity in the wires. This extra step guarantees your safety.
-
Wear Protective Gear: Put on gloves and safety goggles to protect yourself from potential sparks or debris.
Safety Tip: Always turn off the breaker before touching any wires. This simple step can prevent serious injuries.
|
Safety Measure |
Why It’s Important |
|---|---|
|
Turning off the breaker |
Ensures no current flows in the circuit’s hot and neutral wires. |
|
Using a voltage tester |
Confirms the power is completely off. |
|
Wearing safety gear |
Protects against unexpected sparks or debris. |
Removing the Old Switch
Once the power is off, it’s time to remove the old switch. Here’s how you can do it:
-
Unscrew the Switch Plate: Use a screwdriver to remove the screws holding the switch plate. Set the plate aside.
-
Loosen the Mounting Screws: Unscrew the mounting screws that secure the switch to the electrical box.
-
Take a Photo of the Wiring: Before disconnecting anything, take a clear picture of the wires connected to the old switch. This will help you remember where each wire goes.
-
Disconnect the Wires: Carefully unscrew or unclip the wires from the old switch. If the wires are wrapped around screws, straighten them out for easier connection later.
Pro Tip: Label the wires with tape to avoid confusion when connecting the new smart light switch.
Connecting the Smart Light Switch Wires
Now comes the most important part of the installation process—connecting the wires. Follow these steps to ensure proper wiring:
-
Identify the Wires: Look at the wires in your switch box. Typically, you’ll find:
-
Black (Hot Wire): Supplies power to the light.
-
White (Neutral Wire): Powers the smart switch’s wireless antenna.
-
Green or Copper (Ground Wire): Provides safety by grounding the circuit.
-
Red (Traveler Wire): Found in three-way switch setups.
-
-
Prepare the Wires: Strip about ½ inch of insulation from the ends of the wires if needed. Create a U-hook shape at the end of each exposed wire for easier connection.
-
Connect the Wires:
-
Wrap the black wire around the brass terminal screw in a clockwise direction.
-
Attach the white wire to the neutral terminal.
-
Secure the ground wire to the green terminal.
-
If you have a traveler wire, connect it to the appropriate terminal as per the manufacturer’s instructions.
-
-
Tighten the Screws: Use a screwdriver to tighten the screws, ensuring the wires are securely connected.
|
Wire Color |
Function Description |
|---|---|
|
Black |
Hot wire supplying power to the light |
|
White/Gray |
Neutral wire for the smart switch’s wireless antenna |
|
Green/Copper |
Ground wire for safety |
|
Red |
Traveler wire in a three-way switch setup |
Note: Always refer to the manufacturer’s manual for specific wiring instructions.
Securing the Switch and Testing the Installation
With the wires connected, you’re almost done! Here’s how to finish the installation:
-
Tuck the Wires Back: Gently push the wires back into the electrical box. Be careful not to pinch or damage them.
-
Secure the Switch: Align the smart light switch with the electrical box and use the provided screws to secure it in place.
-
Attach the Wall Plate: Snap or screw the wall plate onto the switch for a clean, finished look.
-
Turn the Power Back On: Go to the circuit breaker and turn the power back on.
-
Test the Switch: Flip the switch to ensure it works. If it’s a Wi-Fi-enabled switch, proceed with the network setup as per the manufacturer’s instructions.
Quick Check: If the switch doesn’t work, double-check the wiring connections and ensure the power is on.
By following these steps, you’ll successfully install a smart light switch and enjoy the convenience it brings to your home.
Network Setup and Integration
Connecting the Smart Light Switch to Wi-Fi
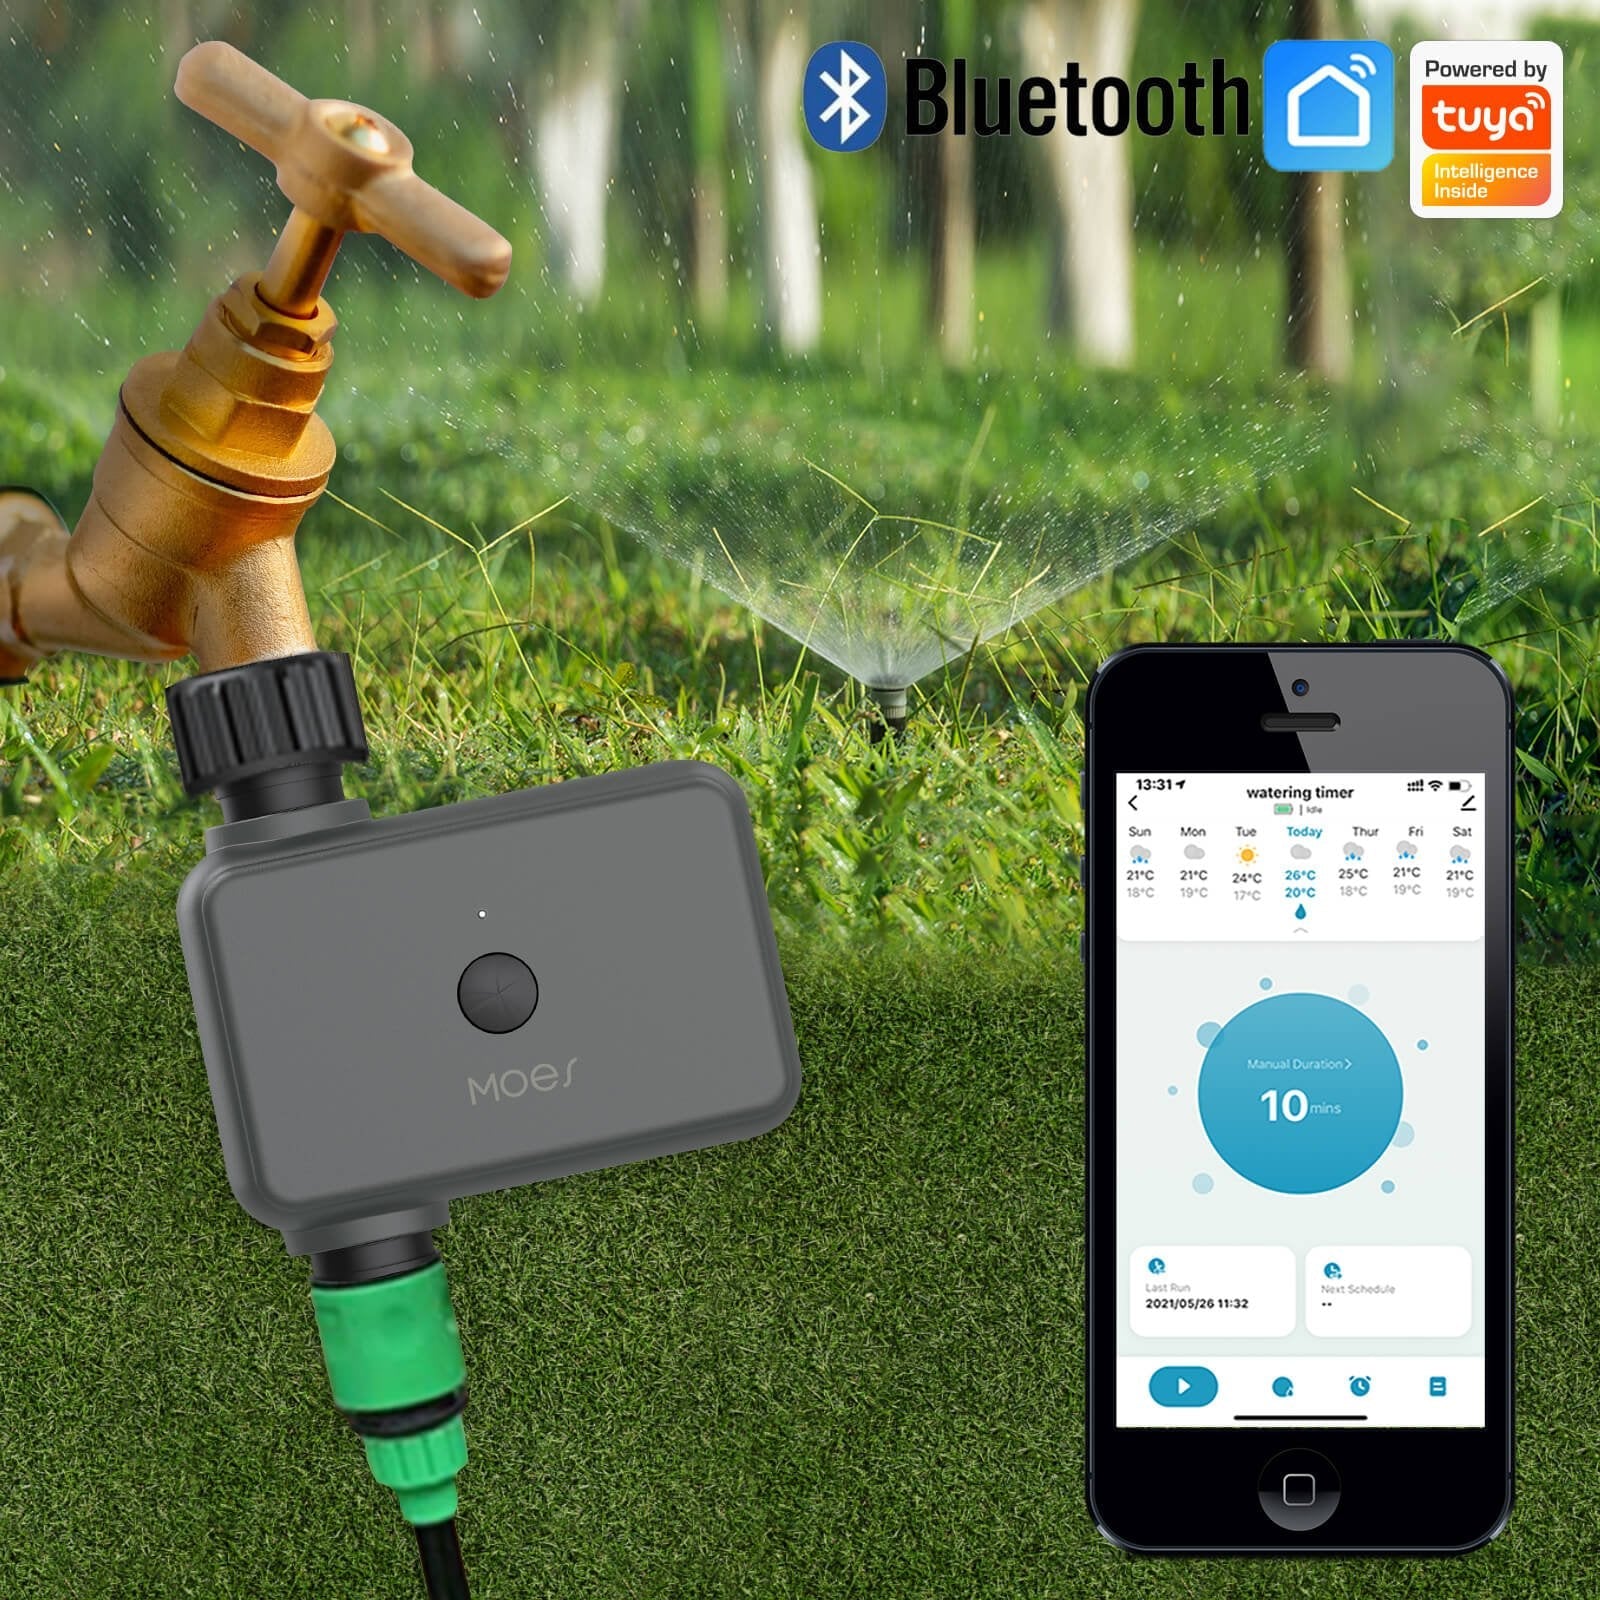
Once you’ve installed your smart light switch, the next step is to connect it to your Wi-Fi network. This allows you to control your lights remotely and unlock all the smart features. Here’s how you can do it:
-
Download the App: Most smart light switches come with a companion app. Download it on your smartphone or tablet.
-
Create an Account: Open the app and sign up for an account if you don’t already have one.
-
Follow the Setup Instructions: The app will guide you through the process. Typically, you’ll need to put the switch in pairing mode by pressing a button or flipping the switch a certain way.
-
Connect to Wi-Fi: Select your home’s 2.4 GHz Wi-Fi network (most smart switches require this frequency). Enter your Wi-Fi password when prompted.
-
Test the Connection: Once connected, test the switch by turning the lights on and off through the app.
Tip: Place your router close to the switch during setup for a stronger signal.
Smart light switches are designed to integrate seamlessly into Wi-Fi networks. For example, studies on IoT systems show how these switches enable remote light control, making them a practical addition to any smart home.
Integrating with Smart Home Systems
After connecting your smart light switch to Wi-Fi, you can integrate it with your smart home system. This step lets you control your lights using voice commands or automation.
Here’s how you can do it:
-
Choose Your Smart Home Platform: Popular options include Amazon Alexa, Google Home, and Apple HomeKit.
-
Enable the Skill or Service: Open your smart home app and search for the brand of your smart light switch. Enable the corresponding skill or service.
-
Link Your Account: Log in to your switch’s app through the smart home platform to link the accounts.
-
Discover Devices: Use the smart home app to find your switch. It should appear as a controllable device.
-
Set Up Automation: Create routines like turning lights on at sunset or dimming them for movie nights.
|
Aspect |
Details |
|---|---|
|
Market Size |
Valued at approximately USD 3.5 billion in 2023, projected to reach around USD 10.2 billion by 2032. |
|
CAGR |
12.8% during the forecast period. |
|
Key Growth Factors |
Increasing adoption of smart home technologies, need for energy-efficient solutions, and IoT proliferation. |
|
Consumer Preference |
Escalating demand for automated and connected home environments. |
|
Benefits of Smart Switches |
Enhanced control, energy efficiency, and improved home security. |
Integrating your smart light switch with a smart home system not only makes life easier but also adds value to your home. You’ll enjoy features like voice control and energy-efficient automation.
Safety Tips and Troubleshooting During the Installation Process
Staying Safe with Electricity
When dealing with electricity, safety is very important. Follow these tips to stay safe:
-
Turn Off the Power: Shut off the circuit breaker before touching wires. Use a voltage tester to confirm no electricity is present.
-
Use the Right Tools: Work with insulated tools to avoid getting shocked.
-
Check Safety Standards: Ensure your smart light switch has certifications like UL and FCC. These prove the product is safe and reliable.
|
Certification/Standard |
What It Ensures |
|---|---|
|
UL Certification |
Confirms the product is safe and follows building rules. |
|
FCC Certification |
Controls electromagnetic emissions for safety and no interference. |
|
Energy Star |
Identifies energy-saving and efficient products. |
|
DLC Approved |
Verifies high-quality, efficient lighting products. |
Tip: Look up local electrical codes for extra rules on wiring and grounding. These rules help prevent accidents like shocks or fires.
Fixing Common Problems (e.g., No Neutral Wire, Small Box)
You might face some problems while installing. Don’t worry—most are easy to fix.
-
No Neutral Wire: Many smart switches need a neutral wire. If your home doesn’t have one, try these:
-
Get a no-neutral smart switch for older homes.
-
Hire an electrician to add a neutral wire.
-
-
Small Electrical Box: Smart switches are bigger than regular ones, so they may not fit easily. Here’s how to solve this:
-
Arrange the wires neatly to make more room.
-
Use wire connectors to group wires together.
-
Replace the box with a larger one if needed.
-
Other issues like loose wires or wrong connections can also happen. Always double-check your work and follow the manual for help.
Note: Grounding is very important for safety. It prevents shocks and fires, so don’t skip it.
By using these tips, you can solve most problems and finish the installation safely.
Reference
Installing a smart light switch is easier with good resources. Below are some helpful tools to guide you step by step.
Product Manuals and Manufacturer Guides
Start with the manual that comes with your switch. It has wiring diagrams, compatibility info, and troubleshooting tips. Lost it? Most brands have digital manuals on their websites.
Tip: Search your switch model online to find its manual.
Online Tutorials and Videos
Watching videos can make learning simpler. Websites like YouTube have many tutorials from experts and DIYers. Find videos for your specific switch model for better guidance.
Safety and Electrical Standards
Knowing electrical safety is very important. Check these trusted sources:
-
National Electrical Code (NEC): Gives rules for safe electrical work.
-
Occupational Safety and Health Administration (OSHA): Shares tips for working safely with electricity.
|
Resource Type |
Example Sources |
|---|---|
|
Brand websites (e.g., Leviton, Lutron) |
|
|
Video Tutorials |
YouTube, Home Depot’s DIY channel |
|
NEC, OSHA |
Note: Always verify online information to ensure it’s correct.
Using these resources will help you feel ready and confident to install your smart light switch.
Putting in a smart light switch is an easy DIY task. It makes your home more convenient and saves energy too. If you face problems, call an electrician for help. Staying safe and happy is the most important thing!
FAQ
What if my smart light switch doesn’t fit in the electrical box?
Some smart switches are bulkier than standard ones. You can rearrange the wires neatly or replace the box with a larger one for a better fit.
Can I install a smart light switch without a neutral wire?
Yes, but you’ll need a no-neutral smart switch. These are designed for older homes without neutral wires. Check the product description before buying.
Why isn’t my smart light switch connecting to Wi-Fi?
Ensure your switch is on a 2.4 GHz network. Move your router closer during setup. If issues persist, restart your router and follow the app’s troubleshooting steps.
Tip: Always double-check your Wi-Fi password and ensure the switch is in pairing mode during setup.